8/18/2020

I need your help! Make a Difference - Kit and Tutorial

Hi Beauty~

I need your help.  I am trying to earn the Stampin' Up! Maui Incentive Trip and I need more sales.  So I am going to do card kits to go, over the next couple months.  If you would like to participate in my very first one, I would greatly appreciate it.  All you need to do is purchase the Make a Difference Stamp Set and I will send you a FREE Tutorial along with all the cut and scored paper products you will need to make this kit. CLICK HERE TO ORDER


If you'd like to get the tutorial and supplies, because you already have the stamp set 
or would like to use a different stamp set, you can buy it for only $12.00 

Want to purchase Stampin' Up! supplies? Visit Https://jeanpiersanti.stampinup.net


Thank you in advance for your support and 
helping me achieve my goals!  
You are a TRUE BEAUTY!

Make it a Successful Day Beauties!!! ~ Jean Piersanti  
My YouTube Channel: http://www.youtube.com/stampinupgirl 
 Post May Contain Affiliate Links

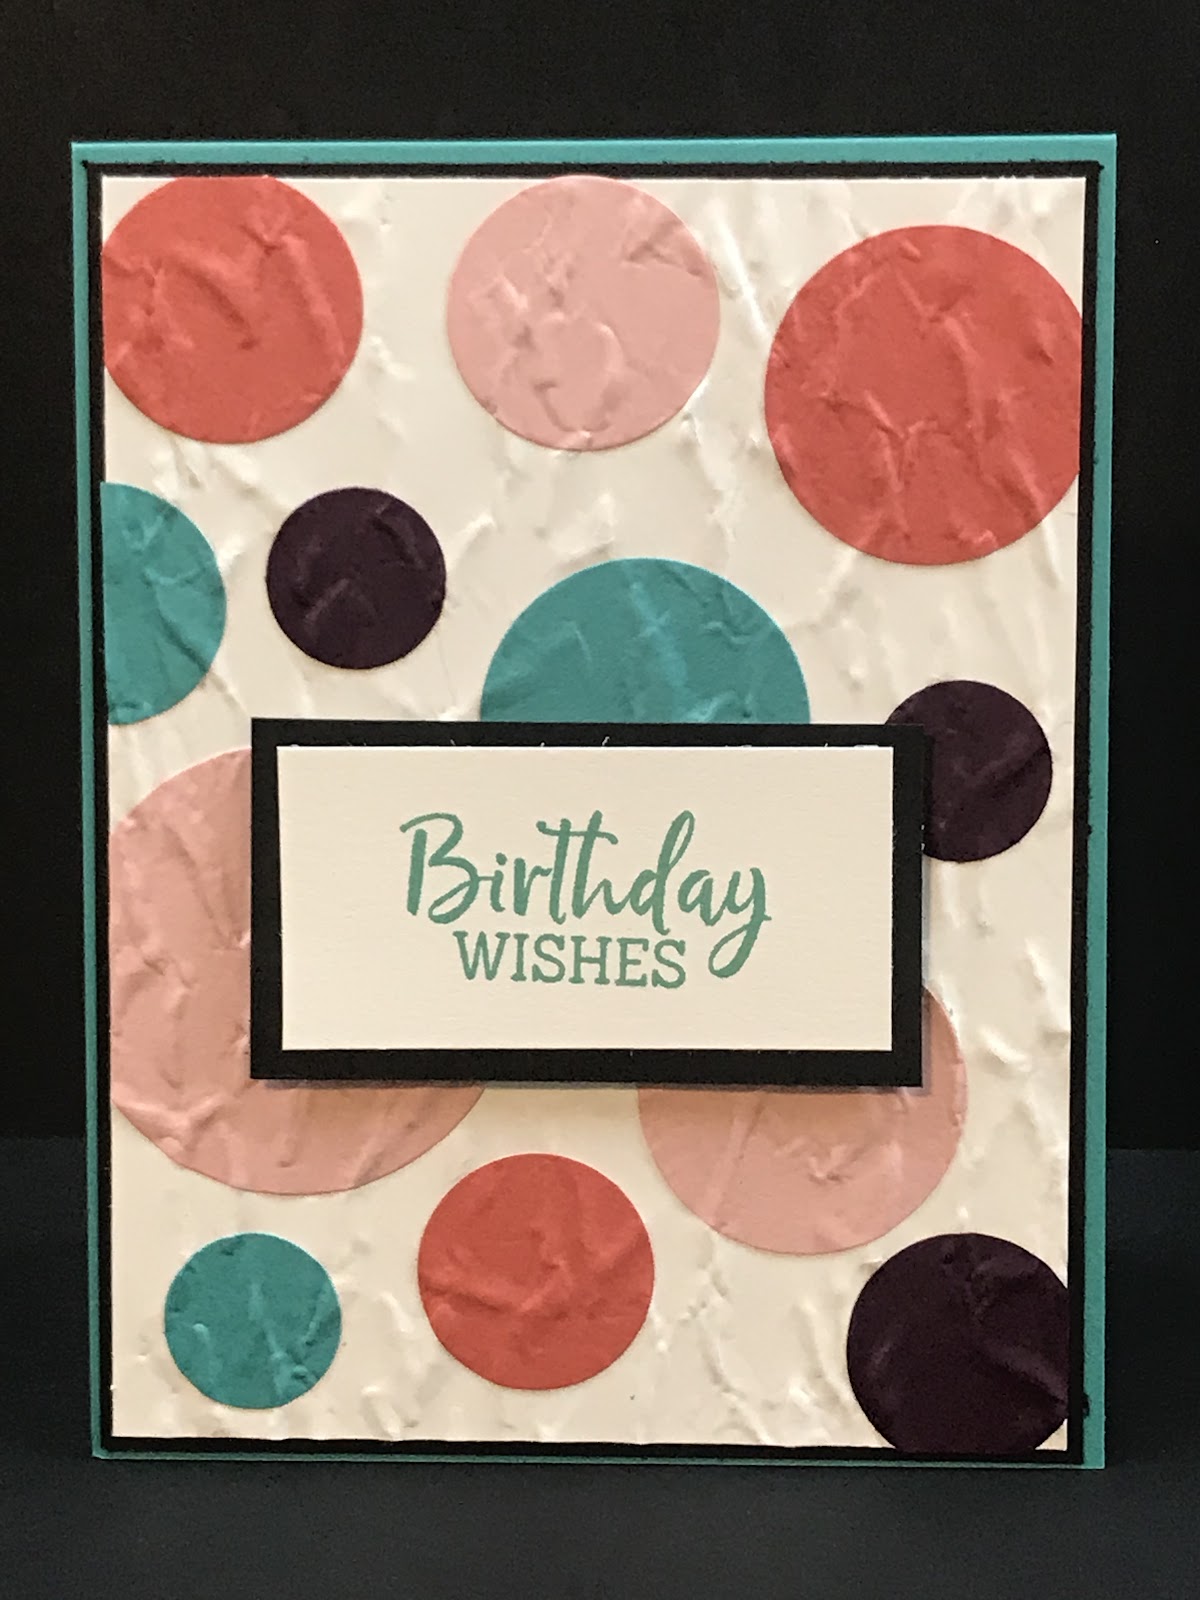
Let's Make a Handstamped Card - Technique Tuesday - Layered Paper with Dies and Embossing Folders

Beauty and the Stamper’s Technique Tuesday

Layered Paper Embossing


Order any items in this tutorial at my online store: https://JeanPiersanti.StampinUp.net


CLICK HERE FOR PRINTABLE/DOWNLOADABLE TUTORIAL


Supplies


Stamps:  Fancy Phrases


Ink/Coloring:  Bermuda Bay


Cardstock/Paper: Whisper White Thick, Basic Black, Bermuda Bay, Blackberry Bliss, Calypso Coral, Blushing Bride


Cut & Emboss: Layering Circles Dies, Old World Paper 3D Embossing Folder, ¾” Punch, 1” Punch


Adhesives: Stampin’ Seal, Multi-Purpose Adhesive, Stampin’ Dimensionals


CLICK HERE TO WATCH THE CREATE ALONG VIDEO


Directions

Cut Bermuda Bay Base at  11” x 4 ¼”, score at 5 ½”

Cut Basic Black at 5 ⅜” x 4 ⅛”

Cut (2)Whisper White Thick Cardstock at 5 ¼” x 4” for inside


Die Cut and/or punch various size circles of colored cardstock, Layout and adhere to Whisper white cardstock.  Cut off any overhang strong circles and place in the embossing folder and run through Cut & Emboss Machine.  Stamp inside and outside greetings, then layer all pieces..  The outside greeting has dimensionals.


Make it a Successful Day Beauties!!! ~ Jean Piersanti  
My YouTube Channel: http://www.youtube.com/stampinupgirl 
 Post May Contain Affiliate Links

8/16/2020

Farmhouse DIY using Dollar Tree Items

Hi Beauty~

I have been having so much fun crafting lately. If it's not with Stampin' Up!, It's with Arteza Pouring Paints and Jewelry, but today was all about the Dollar Tree DIY's.  I don't know if I'm ready for this year to be over or if I am truly just ready for the Fall and Winter Holidays.  


Today, I had to make this cute little Dollar Tree DIY Decor for my home.  Who knew you could take a few School Dies and turn them into faux wood blocks.  This is a favorite for me.  I hope you like it as well.  Let me know in the comment below how you would decorate will them and what words and embellishments you would use.  I will definitely be making more of these in the coming months.


Make it a Successful Day Beauties!!! ~ Jean Piersanti  
My YouTube Channel: http://www.youtube.com/stampinupgirl 
 Post May Contain Affiliate Links