Showing posts with label tutorial. Show all posts

4/23/2021

FREE Tutorial Friday using Stampin' Up!'s Tasteful Touches Stamp Set

Beauty and the Stamper’s Free Tutorial Friday

Tasteful Touches

Order any items in this tutorial at my online store: https://JeanPiersanti.StampinUp.net


Supplies


Stamps:  Tasteful Touches, Color & Contour


Ink/Coloring: Highland Heather


Paper: Basic White Thick, Highland Heather, Hydrangea Hill Designer Series Paper (DSP)


Adhesives: Stampin’ Seal, Stampin’ Dimensionals, Multi Purpose Glue


Dies/Punches: Everyday Labels


Embellishments: 2021/2022 In-Color Gems


Directions

Cut Basic White Base at 5 ½” x 8½”” Score at 4 ¼”

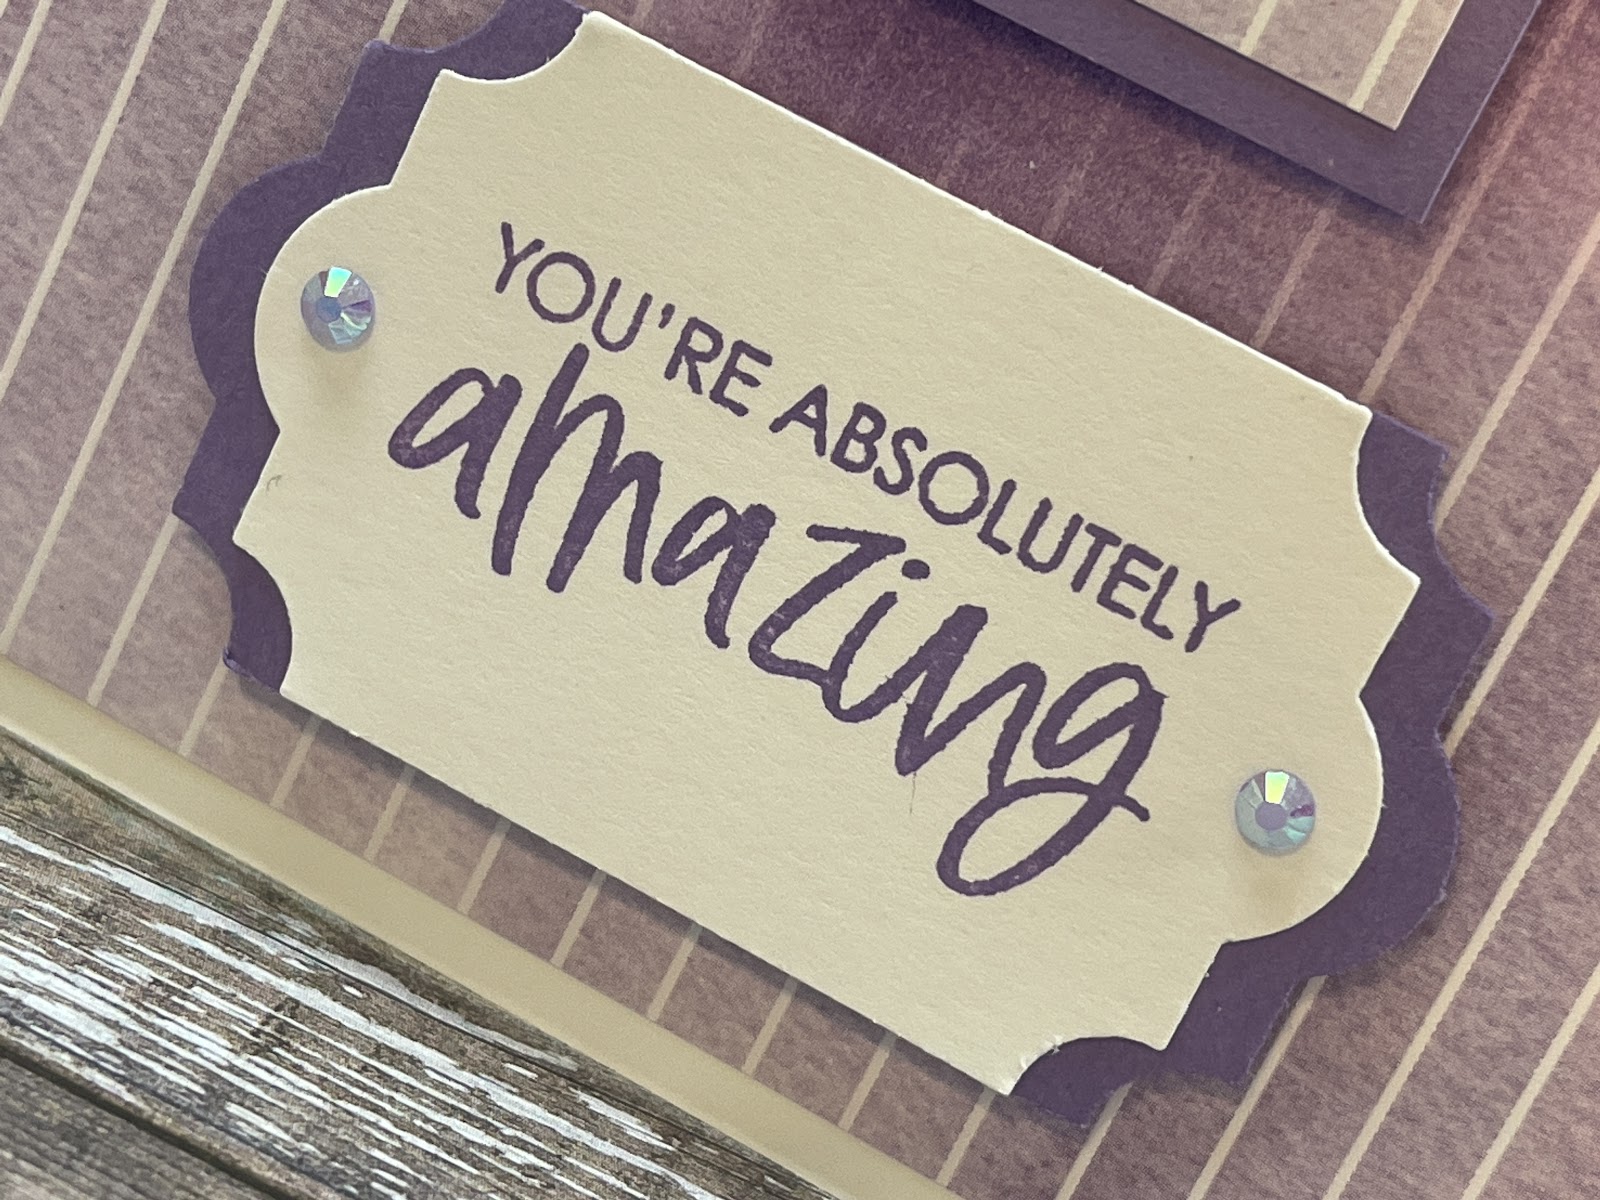
Cut Hydrangea Hill DSP  at  5 ¼” x 4” and 1 ¼” x 2 ¾”

Cut Highland Heather at 1 ½” x 3” and punch everyday label (cut in half)


Stamp Greeting onto Basic White Scrap, punch with label and then adhere cut labels to form side borders. Stamp feather onto DSP and place on matte.  Add DSP to base and add ink with blender to middle of DSP.Add greeting and feather with Dimensionals.  Finally dress up your work of art with colored gems.


Product List

Paper Snips
[103579]
$10.00


Make it a Successful Day Beauties!!! ~ Jean Piersanti 
My YouTube Channel: http://www.youtube.com/stampinupgirl 
Post May Contain Affiliate Links

1/15/2021

Let's make a hand stamped Stampin' Up! card - Free Tutorial Friday

Beauty and the Stamper’s Free Tutorial Friday

Feminine - All Occassion

Order any items in this tutorial at my online store: https://JeanPiersanti.StampinUp.net


Supplies


Stamps:  Strong & Beautiful, Drybrush


Ink/Coloring: Rococo Rose, Merry Merlot


Paper: Basic White, Rococo Rose, Merry Merlot


Adhesives: Stampin’ Seal, Stampin’ Dimensionals


Embellishments/Extras:  Butterfly Gems


Dies/Punches: Scallop Heart, Stamparatus


Directions

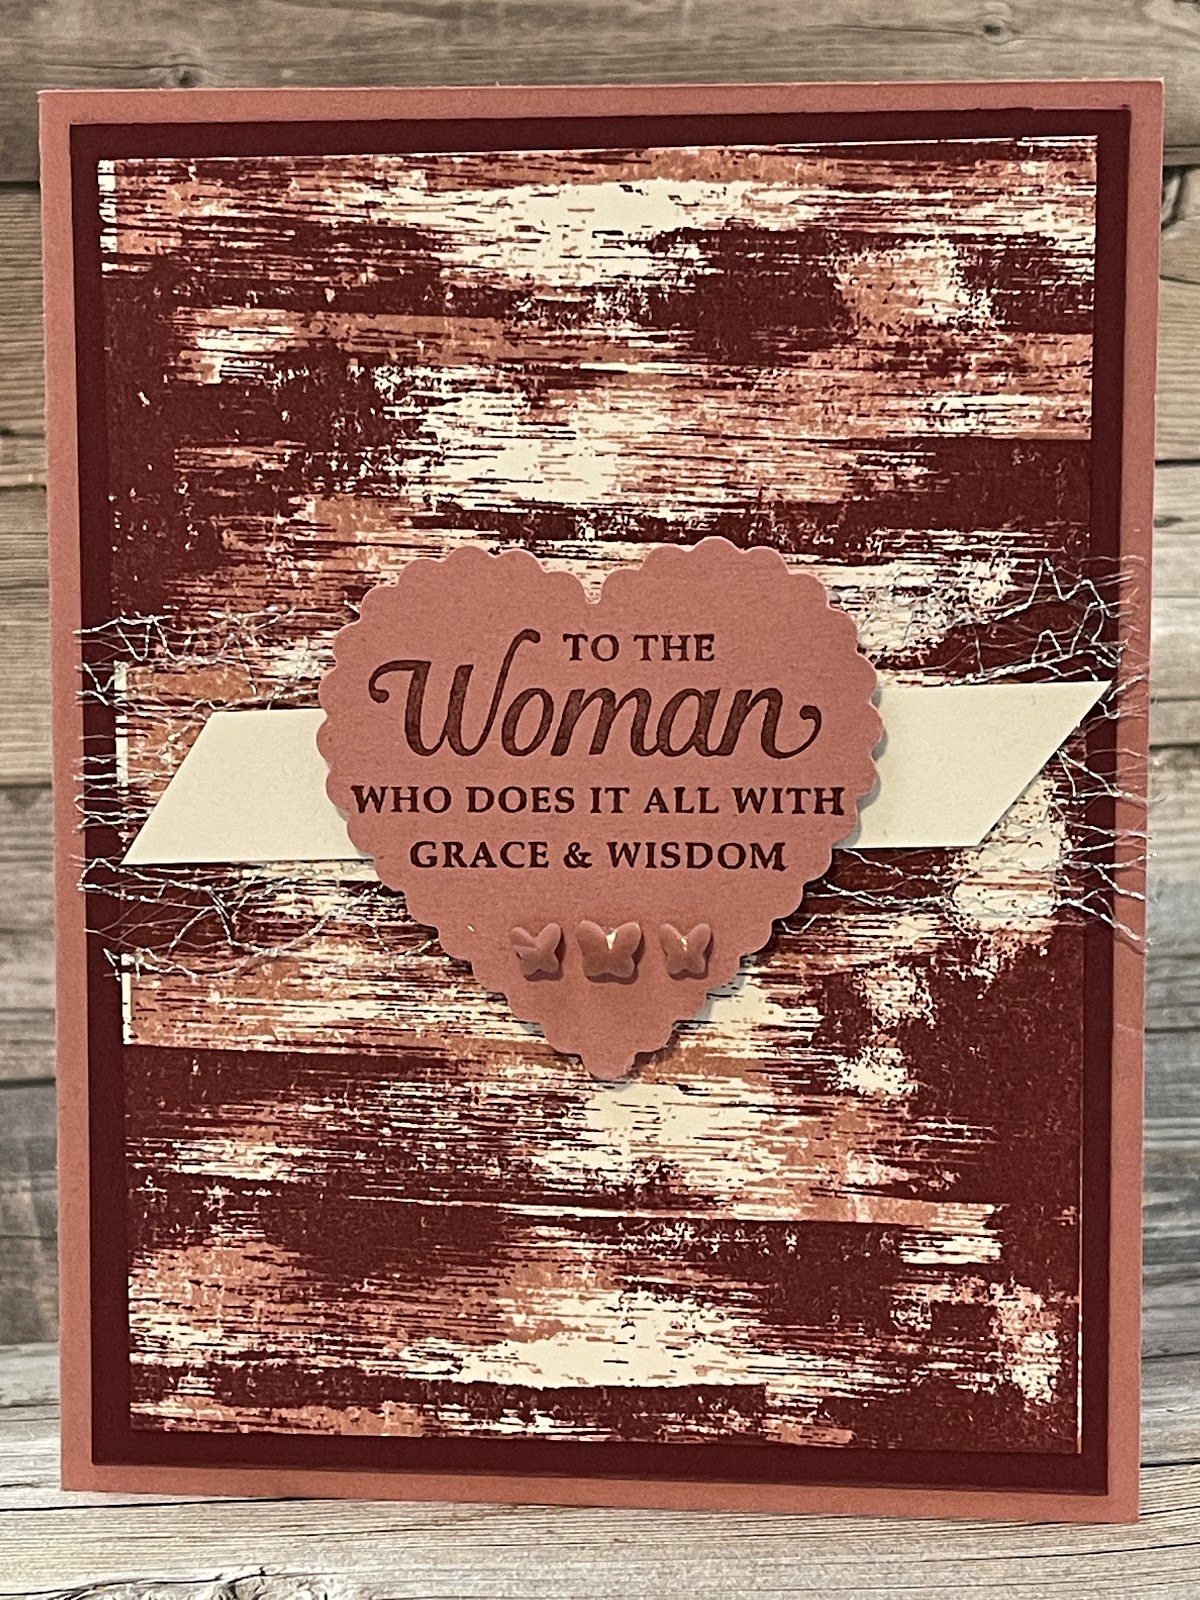
Cut Rococco Rose Base  at 8 ½” x 5 ½”, score at  4 ¼”

Cut Merry Merlot at 5 ¼” x 4”

Cut (2) Basic White  at  5” x 3 ¾” 

Scrap Rococco Rose


Stamp Drybrush with Rococc Rose on the Stamparatus, Flip Paper and Stamp again with Merry Merlot onto your basic white layer.  Stamp your greeting with Merry Merlot onto scap paper and punch with Scallop Heart.  Layer all pieces to base.  Add Metallic Mesh and flagged white scrap then heart (with dimensionals).  Add white layer inside card for a clean look.  Add Butterfly Gems to embellish and your card is ready to go!  Save to stamp inside greeting for Valentine, Mother’s Day etc...


Product List
Stamparatus
[146276]
$49.00
Paper Snips
[103579]
$10.00


Make it a Successful Day Beauties!!! ~ Jean Piersanti 
My YouTube Channel: http://www.youtube.com/stampinupgirl 
Post May Contain Affiliate Links

1/01/2021

FREE Tutorial Friday and Dollar Tree DIY Stamparatus Tool

Beauty and the Stamper’s Free Tutorial Friday

Valentine’s - Stamparatus DIY


Order any items in this tutorial at my online store: https://JeanPiersanti.StampinUp.net


Supplies


Stamps:  Heartfelt, Buffalo Check


Ink/Coloring: Memento Tuxedo Black, Basic Black Blends, Flirty Flamingo Blends


Paper: Whisper White, Flirty Flamingo, Petal Pink


Adhesives: Stampin’ Seal, Stampin’ Dimensionals


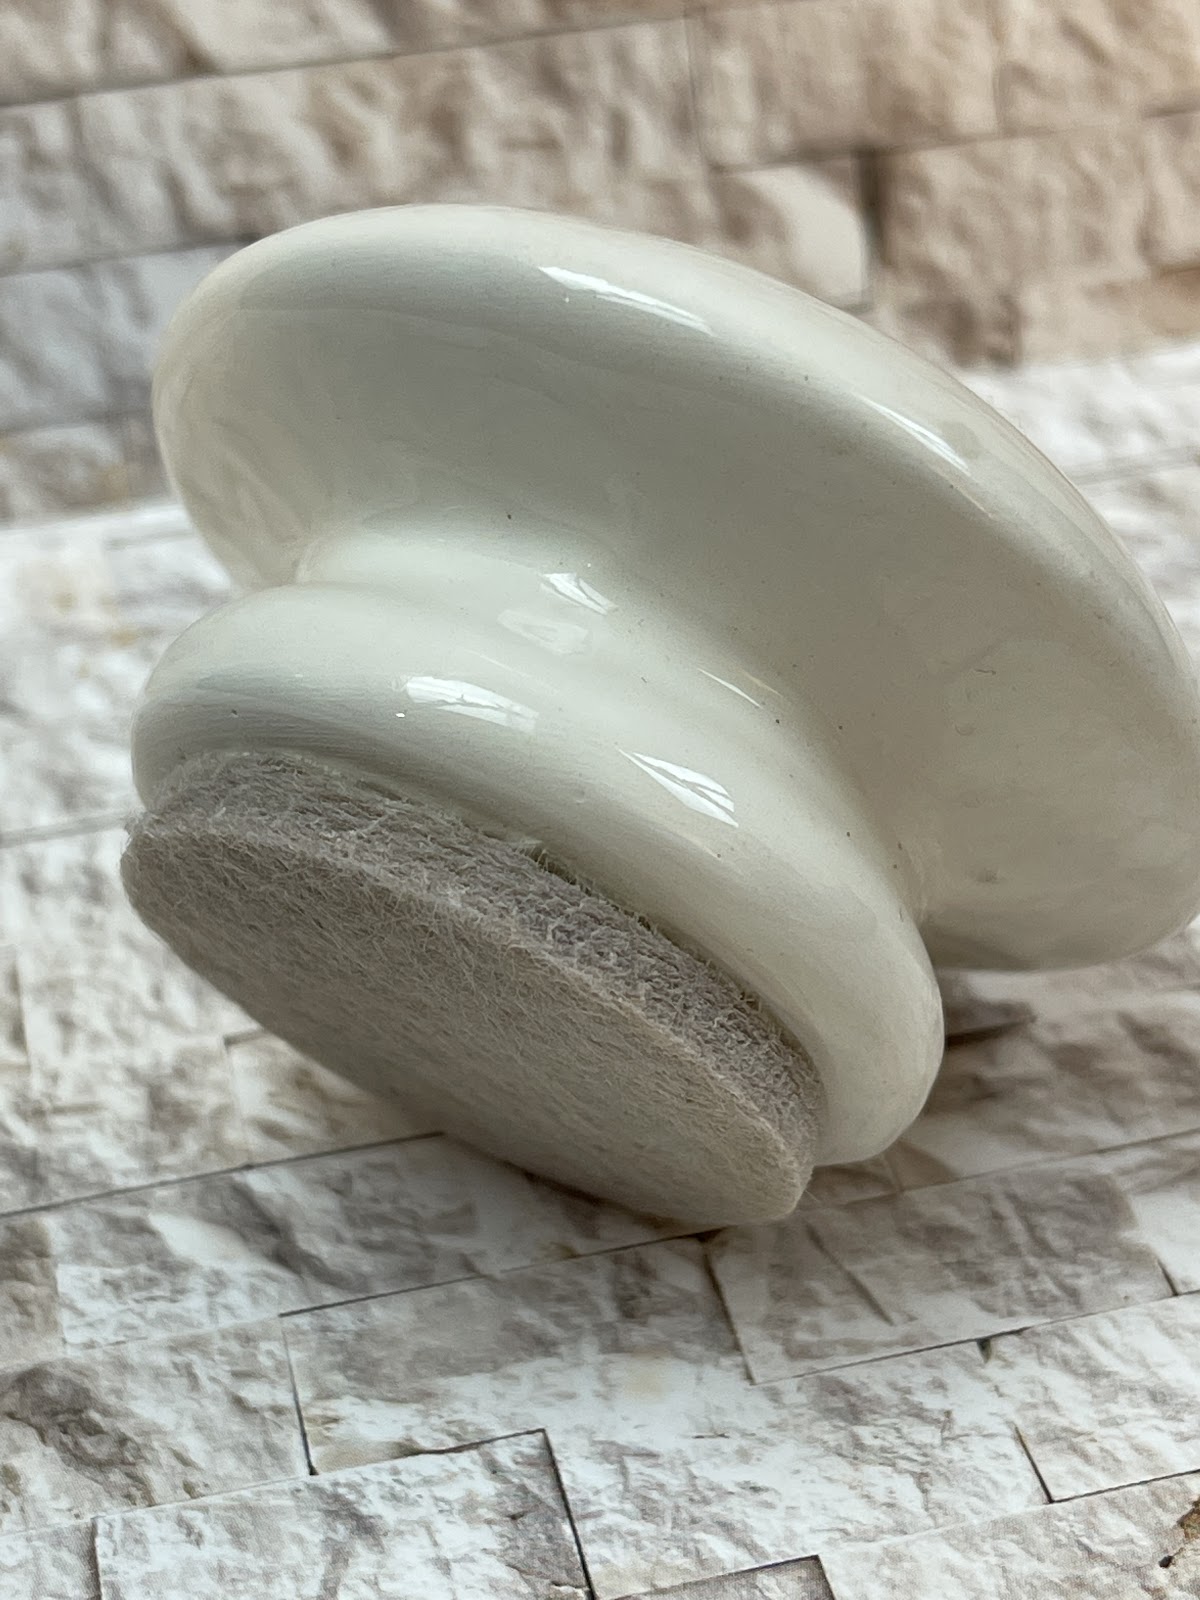
Embellishments/Extras:  Stamparatus, Pearl Basic Jewels, Whisper White Crinkle Seam Binding


Dies: Heart Punch Bundle


Directions

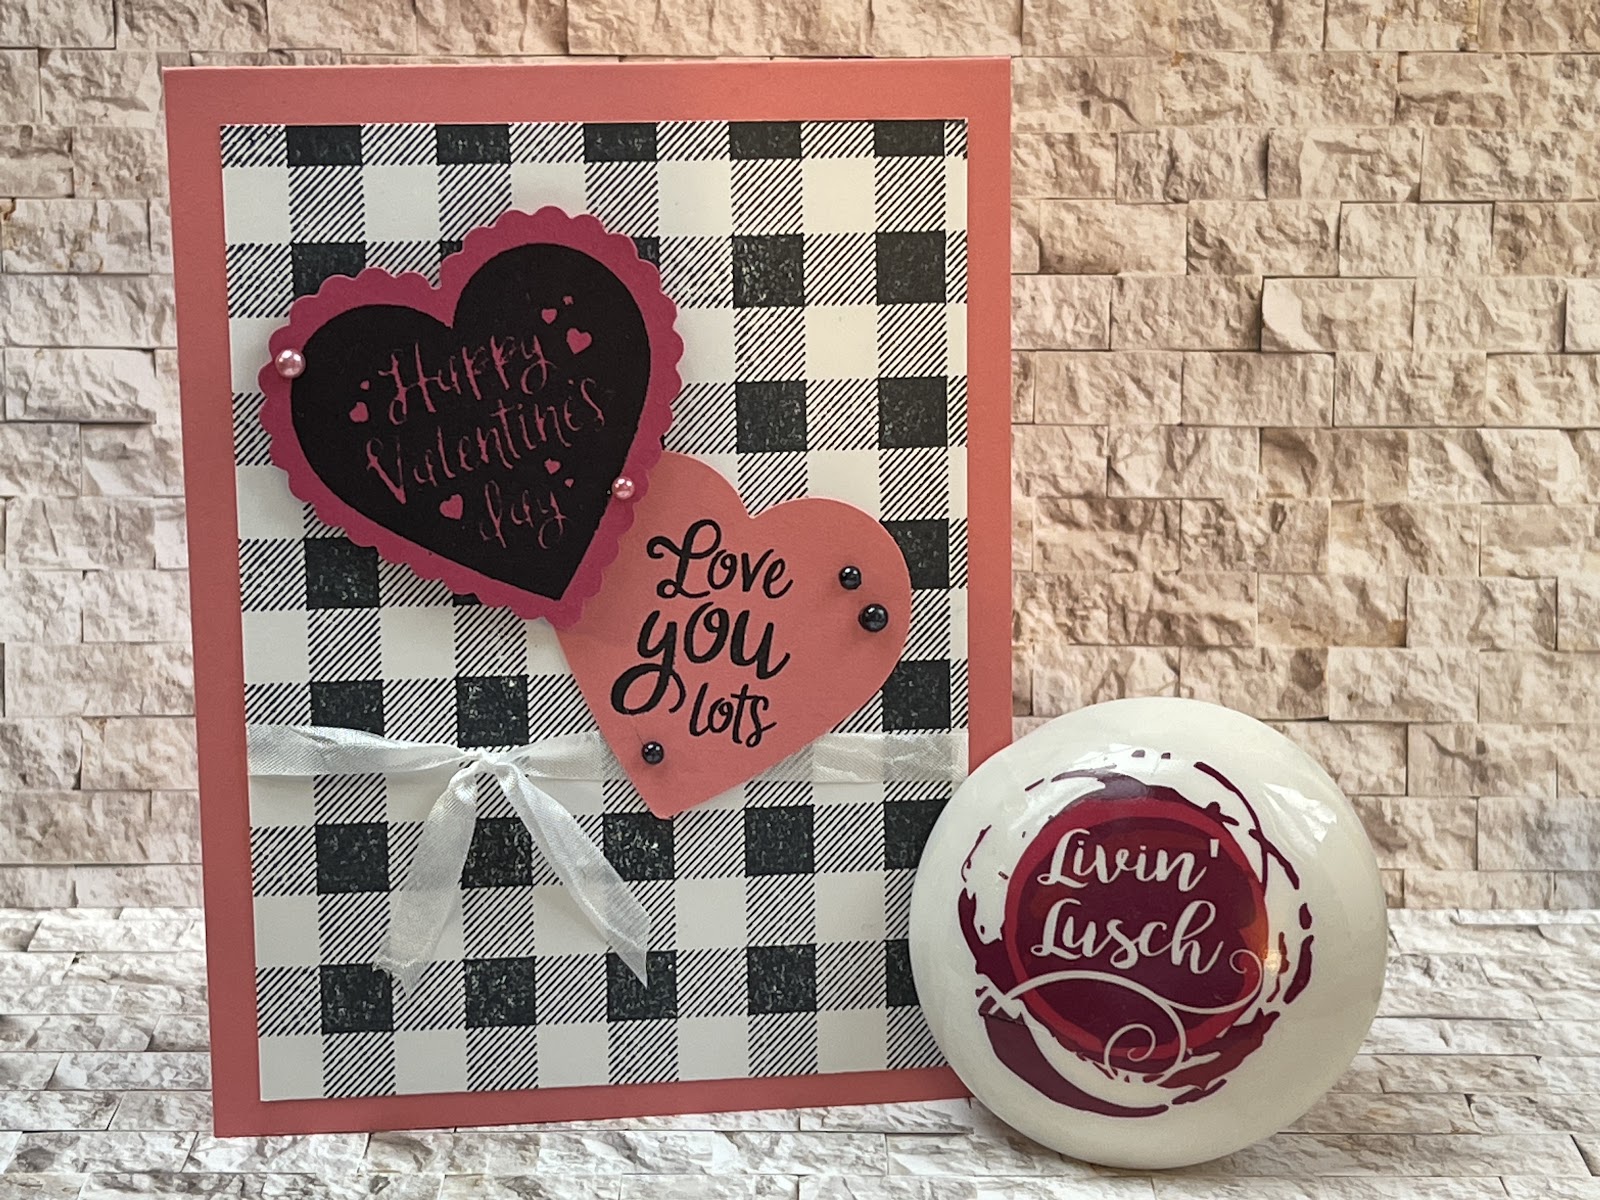
Cut Petal Pink Base at 4 ¼” x 11”, score at  5½” and Extra Scrap

Cut Whisper White 5” x 3 ¾” 

Flirty Flamingo Scrap


First and foremost make your DIY Stamparatus Tool, then stamp the Whisper White layer with Buffalo Check.  Stamp Flirty Flamingo and Petal Pink, then punch with Heart Punch.  Wrap ribbon around Buffalo Checks layer and adhere to base.  Adhere hearts with Stampin’ Seal and Dimensionals.  Finish with pearls and find your Valentine to give your beautiful card to.


Product List 


Make it a Successful Day Beauties!!! ~ Jean Piersanti  
My YouTube Channel: http://www.youtube.com/stampinupgirl 
Post May Contain Affiliate Links