Showing posts with label free tutorials. Show all posts

4/30/2021

Free Tutorial Friday - Let's Make a Card with Stampin' Up! Products

Beauty and the Stamper’s Free Tutorial Friday

New & Old Colored Floral 


Order any items in this tutorial at my online store: https://JeanPiersanti.StampinUp.net


Supplies


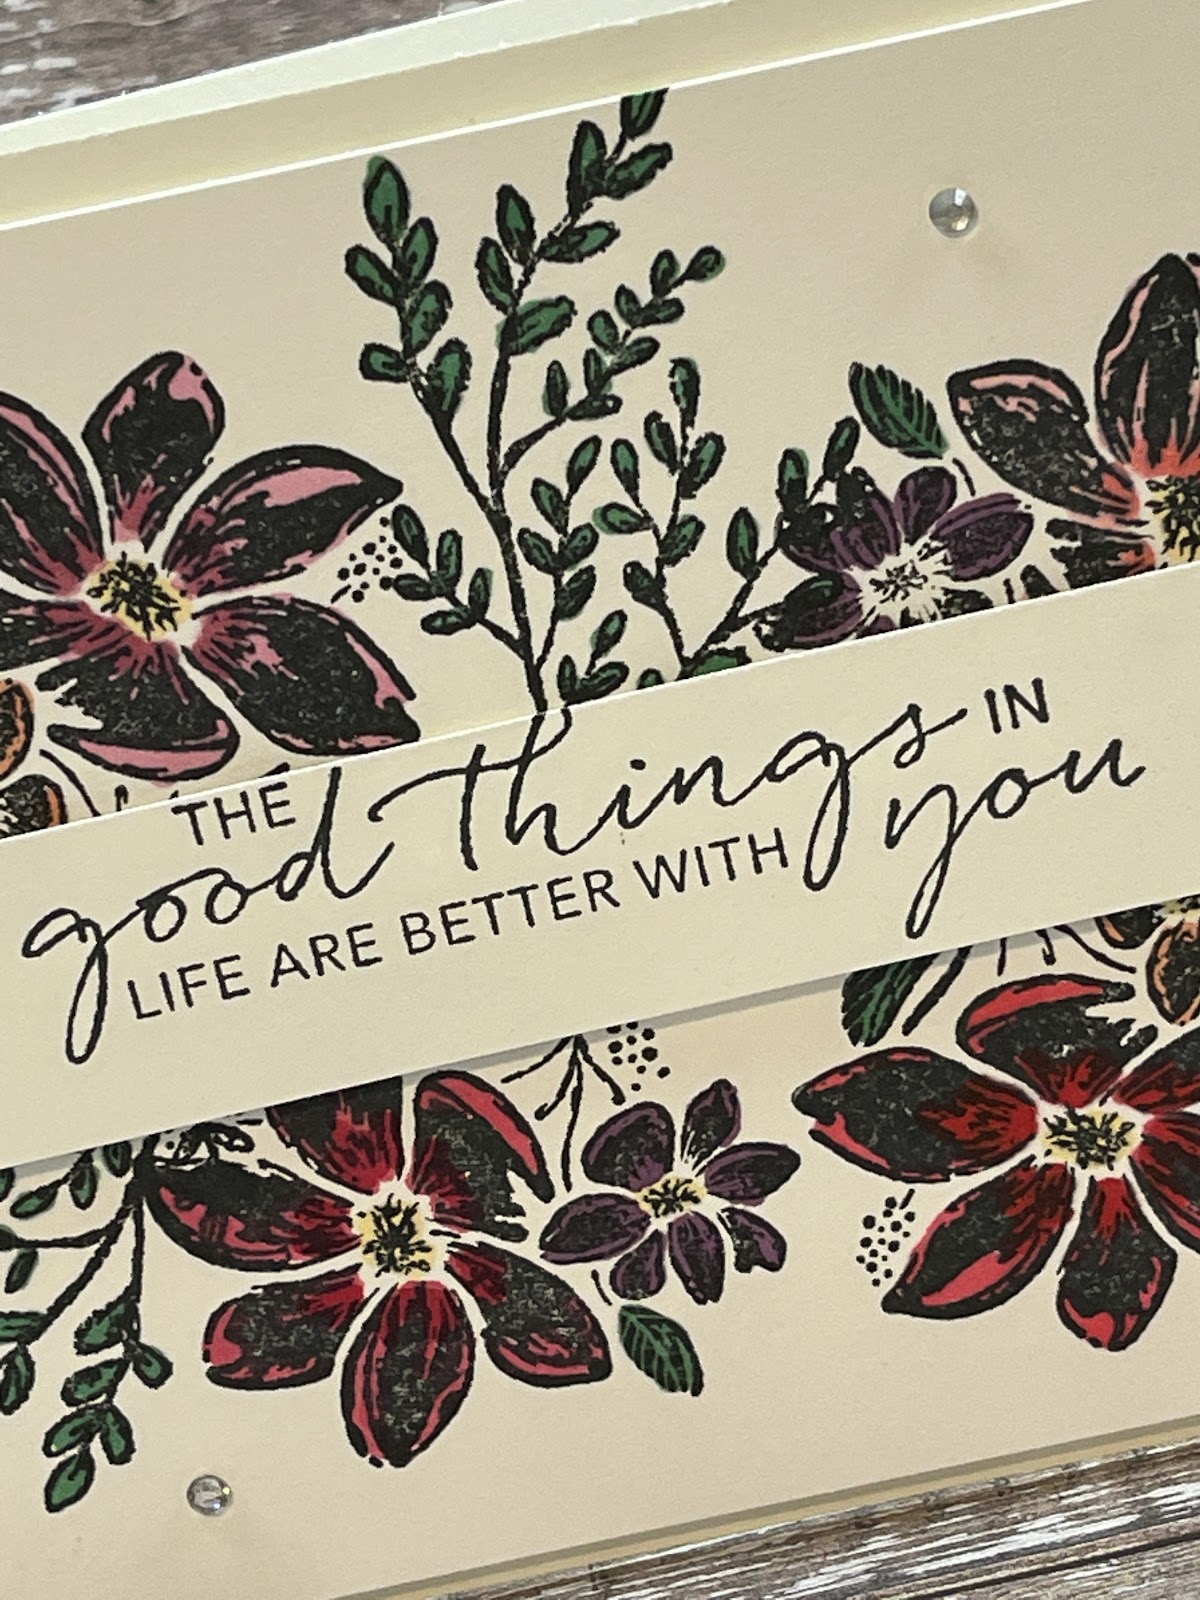
Stamps:  Tasteful Touches, Elegantly Said


Ink/Coloring: Memento Tuxedo Black, Polished Pink Stampin’ Write Marker, Various Stampin’ Blends


Paper: Basic White


Adhesives: Stampin’ Dimensionals


Embellishments/Extras:  Basic Jewel Rhinestones


CLICK HERE TO WATCH THE CREATE ALONG VIDEO


Directions

Cut Basic White Base  at 4 ½” x 11”, score at  5 ½”

Cut Basic White at 5 ¼” x 4” and 5 ¼” x ¾”


Stamp your greeting on the ¾” x 5 ¼”,  Stamp floral and color in with blends and markers then add to base with dimensionals. Adhere greeting in the center with dimensionals. Add rhinestones to embellish and your card is ready to go! 


Product List

Paper Snips
[103579]
$10.00


Make it a Successful Day Beauties!!! ~ Jean Piersanti 
My YouTube Channel: http://www.youtube.com/stampinupgirl 
Post May Contain Affiliate Links

4/23/2021

FREE Tutorial Friday using Stampin' Up!'s Tasteful Touches Stamp Set

Beauty and the Stamper’s Free Tutorial Friday

Tasteful Touches

Order any items in this tutorial at my online store: https://JeanPiersanti.StampinUp.net


Supplies


Stamps:  Tasteful Touches, Color & Contour


Ink/Coloring: Highland Heather


Paper: Basic White Thick, Highland Heather, Hydrangea Hill Designer Series Paper (DSP)


Adhesives: Stampin’ Seal, Stampin’ Dimensionals, Multi Purpose Glue


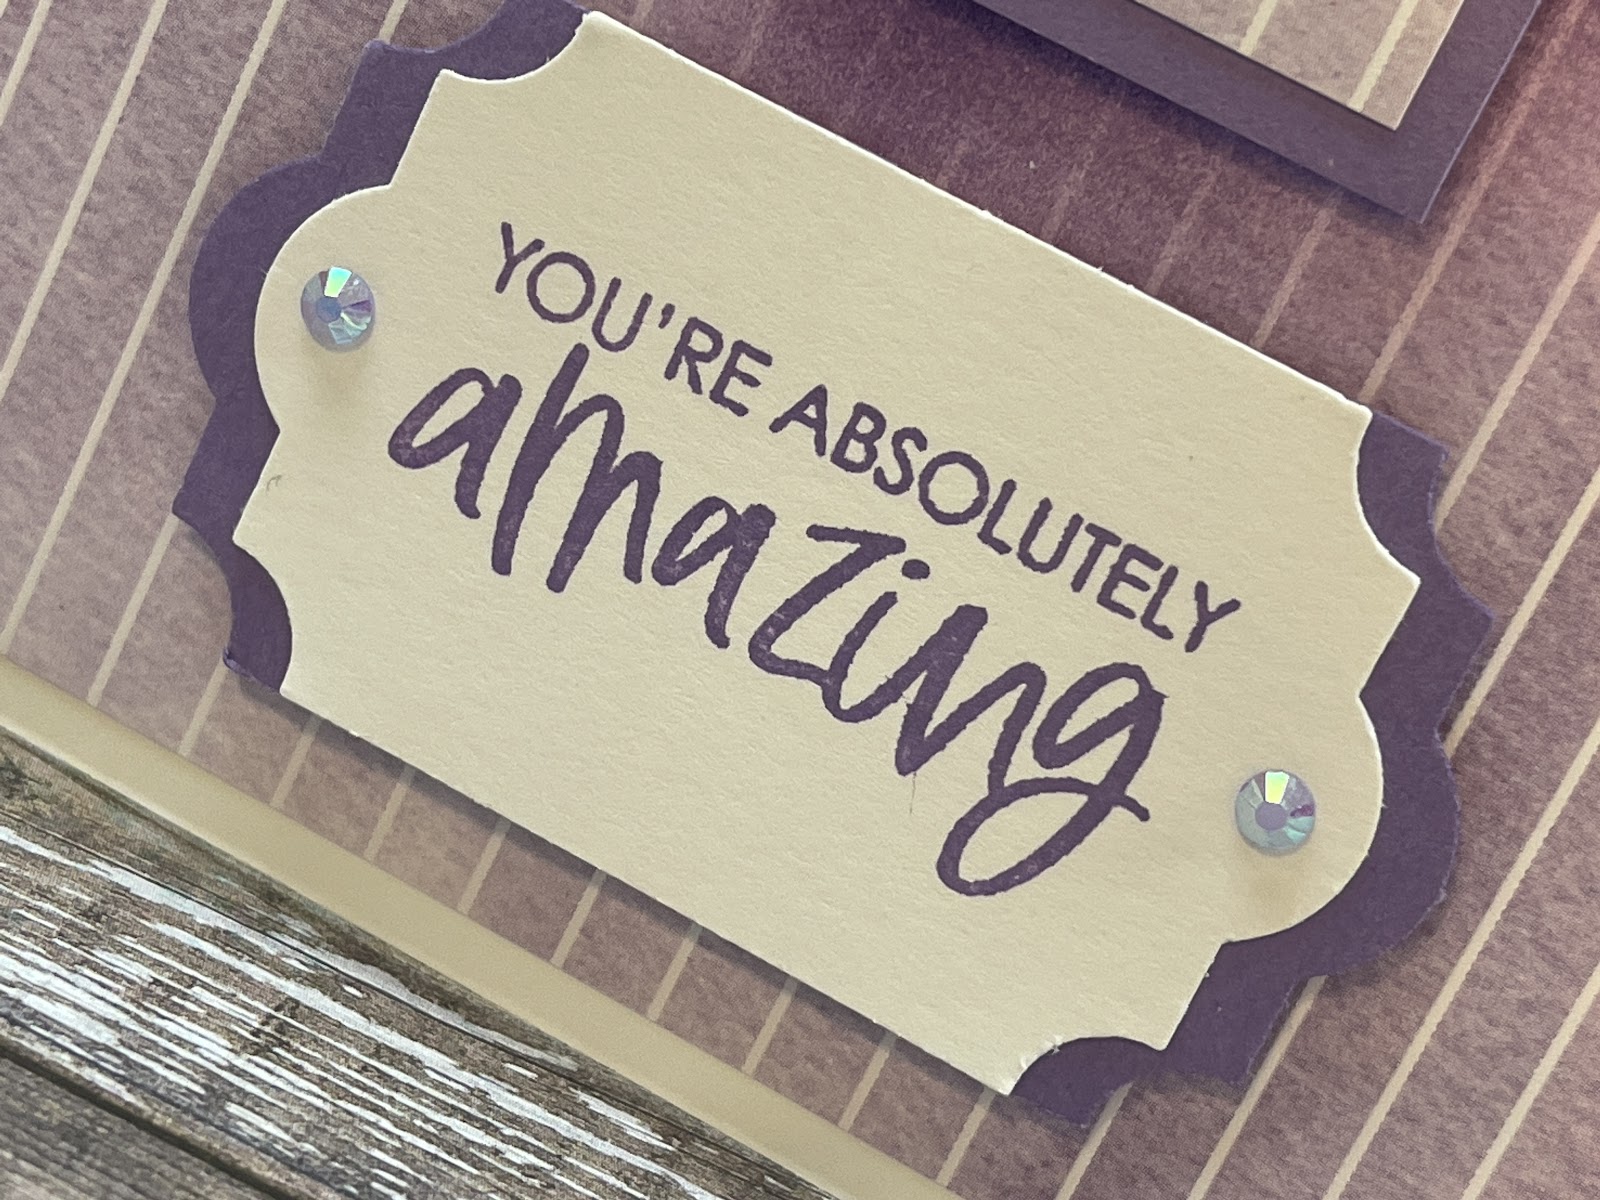
Dies/Punches: Everyday Labels


Embellishments: 2021/2022 In-Color Gems


Directions

Cut Basic White Base at 5 ½” x 8½”” Score at 4 ¼”

Cut Hydrangea Hill DSP  at  5 ¼” x 4” and 1 ¼” x 2 ¾”

Cut Highland Heather at 1 ½” x 3” and punch everyday label (cut in half)


Stamp Greeting onto Basic White Scrap, punch with label and then adhere cut labels to form side borders. Stamp feather onto DSP and place on matte.  Add DSP to base and add ink with blender to middle of DSP.Add greeting and feather with Dimensionals.  Finally dress up your work of art with colored gems.


Product List

Paper Snips
[103579]
$10.00


Make it a Successful Day Beauties!!! ~ Jean Piersanti 
My YouTube Channel: http://www.youtube.com/stampinupgirl 
Post May Contain Affiliate Links

1/29/2021

FREE Tutorial Friday - Stampin' UP! Quick & Easy Sympathy Card

Beauty and the Stamper’s Free Tutorial Friday

Quick & Easy Sympathy Card

Order any items in this tutorial at my online store: https://JeanPiersanti.StampinUp.net


Supplies


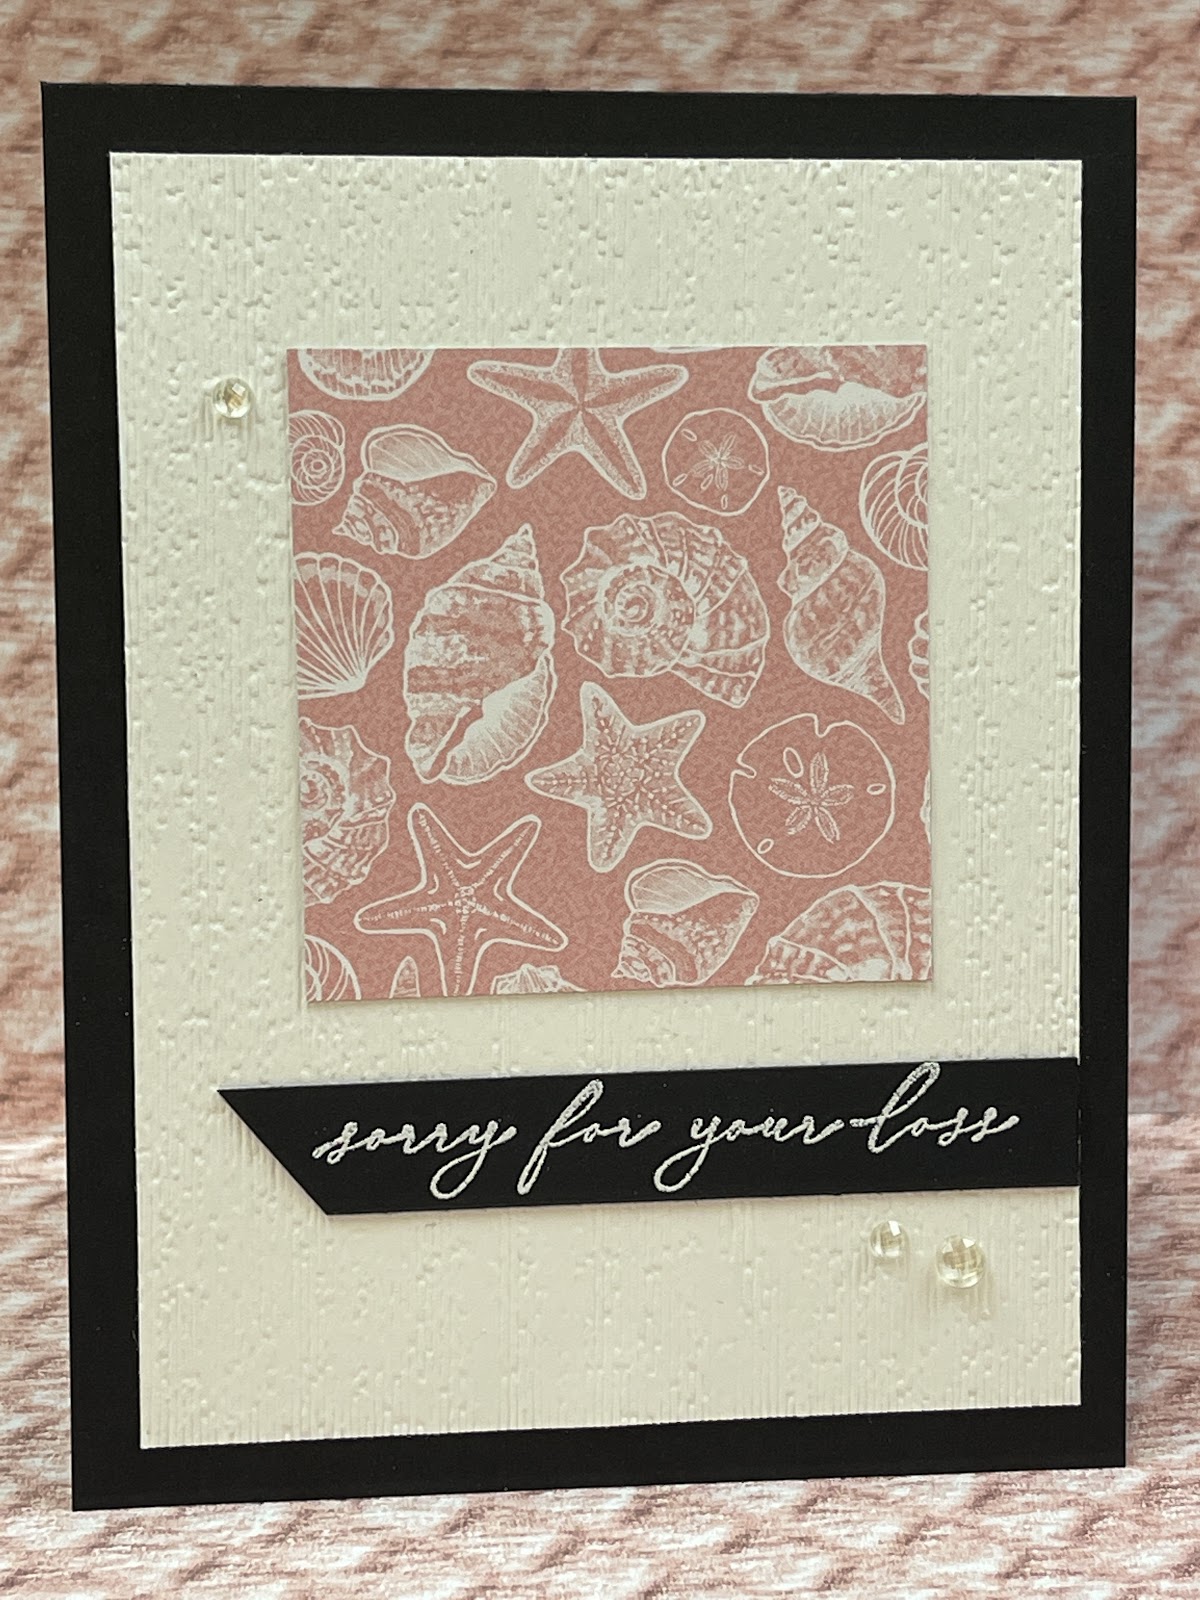
Stamps:  Heal Your Heart


Ink/Coloring: Versamark, White Embossing Powder


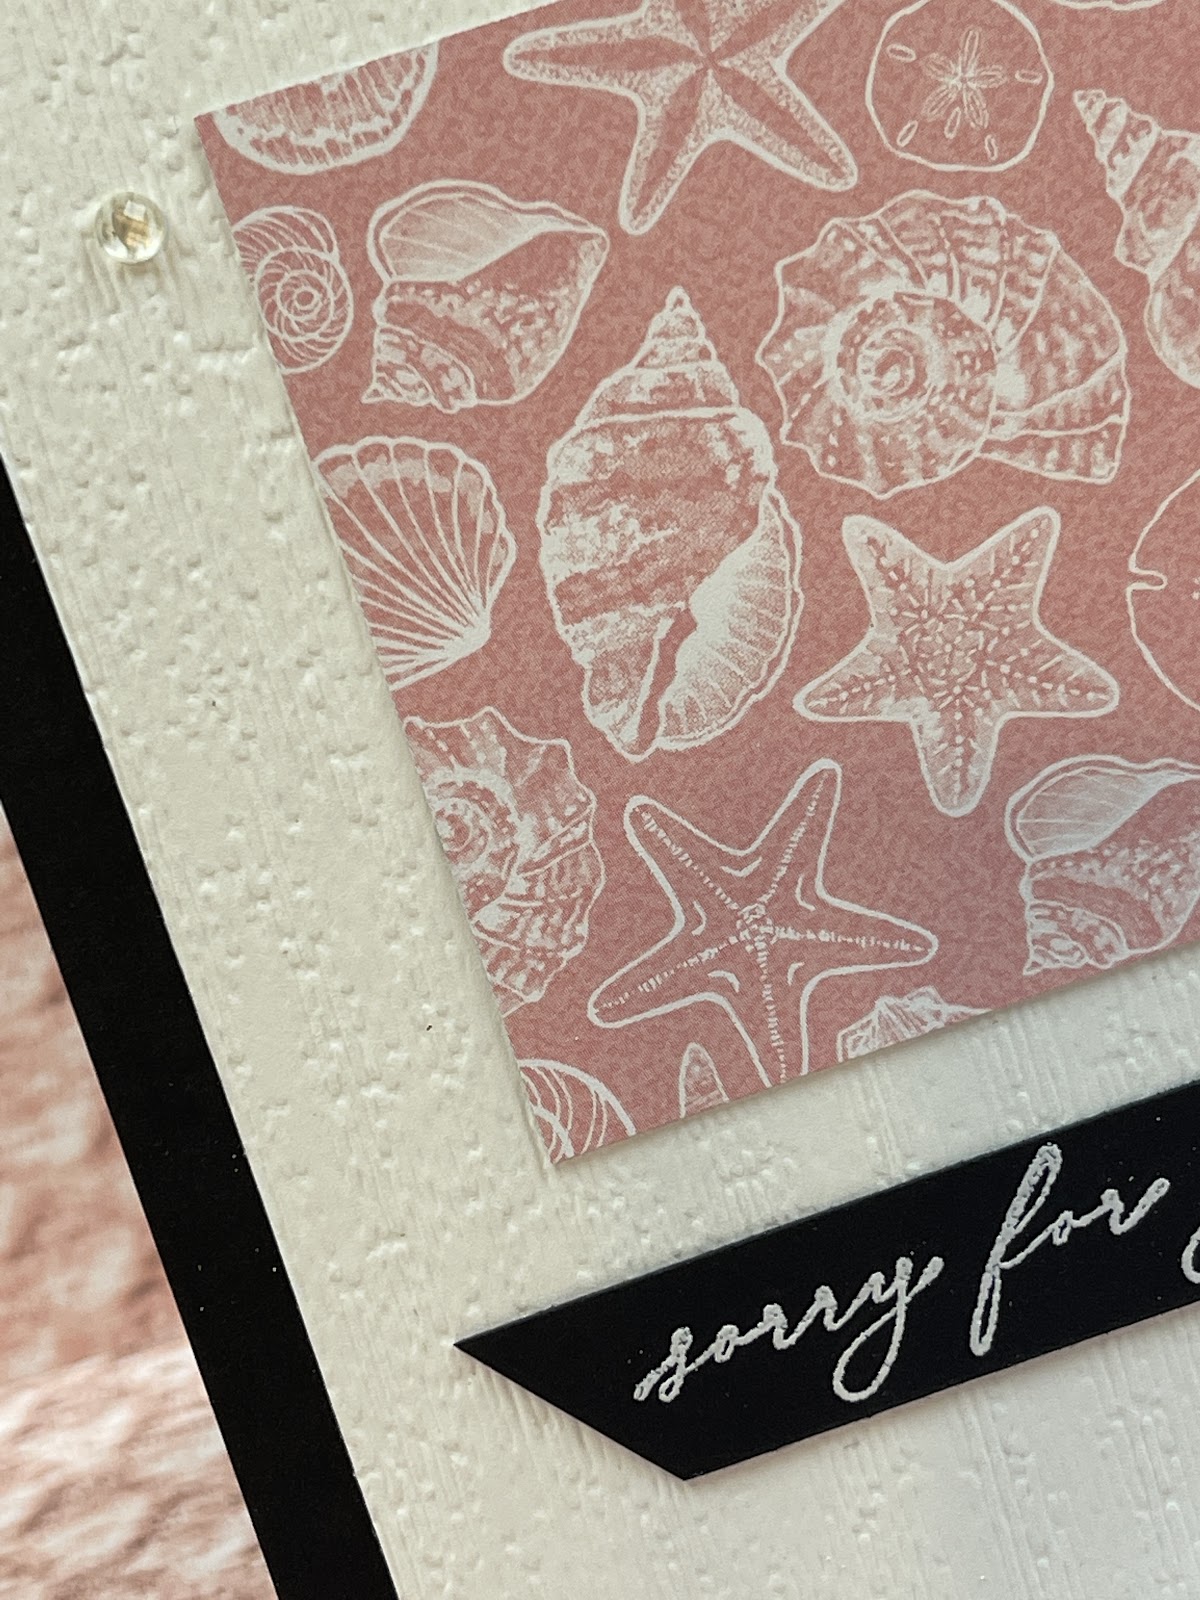
Paper: Basic White, Basic Black,  Sand & Sea Designer Series Paper (DSP)


Adhesives: Stampin’ Seal, 


Dies/Punches: Subtle Embossing Folder


Embellishments: Elegant Faceted Gems


Directions

Cut Basic Black Base at 4 ¼” x 11” Score at 5 ½”

Cut (2) Basic White  at  5” x  3 ¾”

Cut Sand & Sea DSP at 2 ½” x 2 ½”

½” Scrap of Basic Black


Stamp Greeting with Versamark and Heat Emboss with White Embossing Powder on Basic Black scrap..  Run one Basic White piece through the Stamp, Cut & Emboss Machine with the Subtle 3D Folder.  Adhere White layer inside card and white embossed layer on outside of card.  Adhere DSP with a 1” border around the top and sides of Subtle white piece.  Cut  basic black greeting at an angle and adhere to the bottom third of the card.  Your card is ready to add an uplifting sentiment or handwritten words and sent to the recipient..


Product List
Paper Snips
[103579]
$10.00


Make it a Successful Day Beauties!!! ~ Jean Piersanti 
My YouTube Channel: http://www.youtube.com/stampinupgirl 
Post May Contain Affiliate Links