Showing posts with label Framelits Dies. Show all posts

11/20/2020

FREE Tutorial Friday - Let's Make a Quick and Easy Ornament using Stampin' Up! Product

Beautiful World Ornament


Order any items in this tutorial at my online store: https://JeanPiersanti.StampinUp.net


Supplies


Stamps:  Beautiful World


Ink/Coloring: Misty Moonlight, Night of Navy Blends


Paper: Whisper White Thick, Night of Navy


Adhesives: Stampin’ Seal +


Embellishments/Extras:  Blue Adhesive Backed Gems, Layering Circles Dies, Silver Metallic Lined White Ribbon, White Baker’s Twine (from Previous Paper Pumpkin)


CLICK HERE TO DOWNLOAD THE PRINTABLE TUTORIAL


Directions

Stamp on whisper white, then Die Cut your globe and greeting with the circle die

Color 8” Silver Metallic Lined White Ribbon with Night of Navy Stampin’ Blends

Cut Designer Series Paper and Old Olive Cardstock at 3” x 4” 

Die Cut Night of Navy with Scallop Die (larger than whisper white circles)


Score circles and scallops in half and fold.  Adhere circles to scallops and the sides of each scallop to each other.  Before adhering the final scallop, adhere the ribbon “hanger” and baker’s twine tassel. Finish with gems. Create many of these quick & easy Ornaments for all your friends and family.



Grab your supplies and follow the video tutorial to craft along with me.


Product List 

Paper Snips
[103579]
$10.00

Make it a Successful Day Beauties!!! ~ Jean Piersanti  
My YouTube Channel: http://www.youtube.com/stampinupgirl 
Post May Contain Affiliate Links

10/27/2020

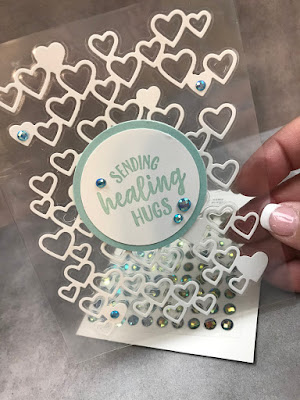
Floating Clear Card - New Stamping Trend Alert - A Stampin' Up! Demonstrator's Technique Tuesday

Beauty and the Stamper’s Technique Tuesday

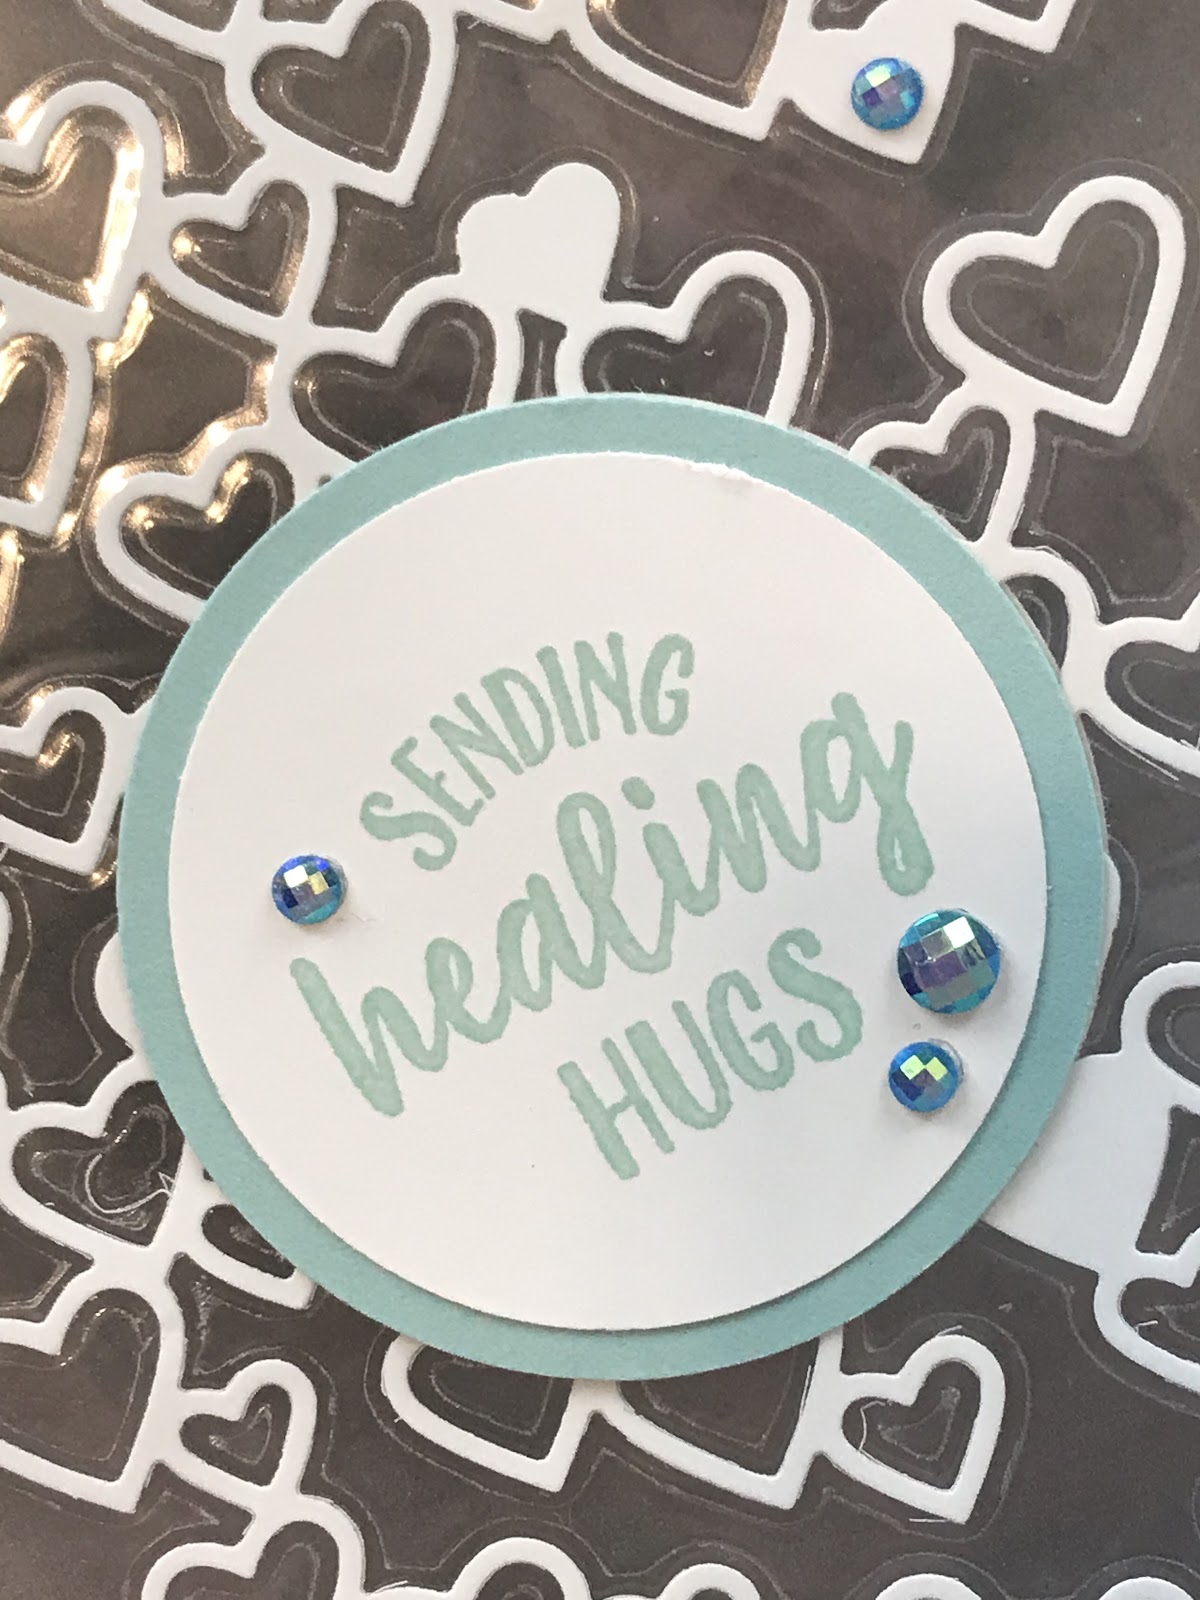
Free Floating Clear Card

Order any items in this tutorial at my online store: https://JeanPiersanti.StampinUp.net


Supplies


Stamps:  So Sentimental


Ink/Coloring:  Pool Party


Cardstock/Paper: Whisper White, Pool Party, Laminating Paper


Dies: Detailed Hearts Dies, 2” Circle Punch, 2 ¼” Circle Punch


Adhesives: Stampin’ Seal +


Embellishments: Blue Adhesive Backed Gems


CLICK HERE TO DOWLOAD THE PRINTABLE TUTORIAL


Directions

Cut Laminating Pouch at Base at 5 ½” x 8 ½”, ( score at 4 ¼” with a laminating machine)

Die Cut Detailed Hearts Die and place in laminating pouch and run through laminating machine. Fold in half and run through again.

Stamp Greeting on whisper white then punch with 2” Circle

Punch (2) Pool Party and (2)Whisper White with 2 1.4” punch


Take your Laminated Clear Floating Heart base and attached Pool Party Circle on front, then layer greeting.  On inside attached white circle (behind front flap circle). Attached back circle to line up with white circle. Admire your card and take time to breathe, because this card will take your breath away.


Product List

Make it a Successful Day Beauties!!! ~ Jean Piersanti 
My YouTube Channel: http://www.youtube.com/stampinupgirl 
Post May Contain Affiliate Links

10/13/2020

Let's Stamp and Color Vellum to make a Thanksgiving hand made card

Beauty and the Stamper’s Technique Tuesday

Coloring Vellum - Happy Thanksgiving

Order any items in this tutorial at my online store: https://JeanPiersanti.StampinUp.net


Supplies


Stamps:  Celebrate Sunflowers, Banner Year


Ink/Coloring:  Stazon Black, Early Espresso, Various Stampin’ Blends


Cardstock/Paper: Very Vanilla, Early Espresso, Crushed Curry


Adhesives: Mini Glue Dots, Stampin’ Dimensionals


Embellishments: Oval Dies, Bumblebee Gingham Ribbon


CLICK HERE TO DOWNLOAD THE PRINTABLE TUTORIAL


Directions

Cut Very Vanilla Base at 5 ½” x 8 ½”,  score at 4 ¼”

Die Cut Early Espresso with Large Scallop and Small Oval to make a Frame

Die Cut Crushed Curry with Medium Oval and Small Oval to make a frame

Very Vanilla Greeting Piece 2 ½” x ½”


Stamp greeting with early espresso and stamp Sunflower with stazon ink, let dry then flip vellum over and color image with Stampin’ Blends.  Glue Vellum to frame, then layer small frame and ass to base with dimensionals.  Add Greeting with ribbon behind and bow on top and viola, your card is complete.


Product List


Make it a Successful Day Beauties!!! ~ Jean Piersanti 
My YouTube Channel: http://www.youtube.com/stampinupgirl 
Post May Contain Affiliate Links

10/02/2020

Let's make a hand stamped card - Whale Punch Ghost - FREE Tutorial Friday

Beauty and the Stamper’s Free Tutorial Friday

Whale Punch Ghost - Halloween Card


Order any items in this tutorial at my online store: https://JeanPiersanti.StampinUp.net


Supplies

Stamps:  Banner Year, Cute Fruit


Ink/Coloring: Memento Tuxedo Black, Pumpkin Pie, Gary Granite Stampin’ Blends


Paper: Whisper White, Blackberry Bliss, Plaid Tiding Designer Series Paper (DSP)


Adhesives: Stampin’ Seal, Stampin’ Dimensionals, Mini Glue Dots


Embellishments/Extras:  Holiday Rhinestones, Whale Punch, Layered Circles Dies, Bumblebee Gingham Ribbon, Wobbler (from Amazon)


CLICK HERE TO DOWLOAD THE PRINTABLE TUTORIAL


Directions

Cut Blackberry Bliss Base at 5 ½” x 8 ½”, score at 4 ¼”

Die Cut Large Scallop from a 5 ½” x 4 ¼” leaving ⅓ at the bottom for ribbon & bow

Cut Whisper White for Inside 5” x 3 ¾”

(2) Whisper White Scraps for Whale Punch and Label Me Lovely Punch

Cut Designer Series Paper 3 ¾” x 3 ¾” 


 Punch whale and cut off fin and half of the tail to make the ghost. Stamp and punch greeting.  Layer DSP then add frame and greeting with dimensional (wrap ribbon and bow before placing frame. Add DSP and ghost (with wobbler) on the inside with Boo stamped. .Add rhinestones  Give this card to your beautiful friend.


Product List


Make it a Successful Day Beauties!!! ~ Jean Piersanti 
My YouTube Channel: http://www.youtube.com/stampinupgirl 
Post May Contain Affiliate Links