1/14/2021

Sale-a-Bration Punch Party and Oh So Ombre Designer Series Paper from Stampin' Up!

Hi Beauty~

I am so excited about this new stamp set and Oh So Ombre Designer Series Paper that I just couldn't wait until tomorrow to show it to you.  Don't worry, I'll still make a Free Tutorial Friday.  But I just have to share this with you, because I am IN LOVE!!!


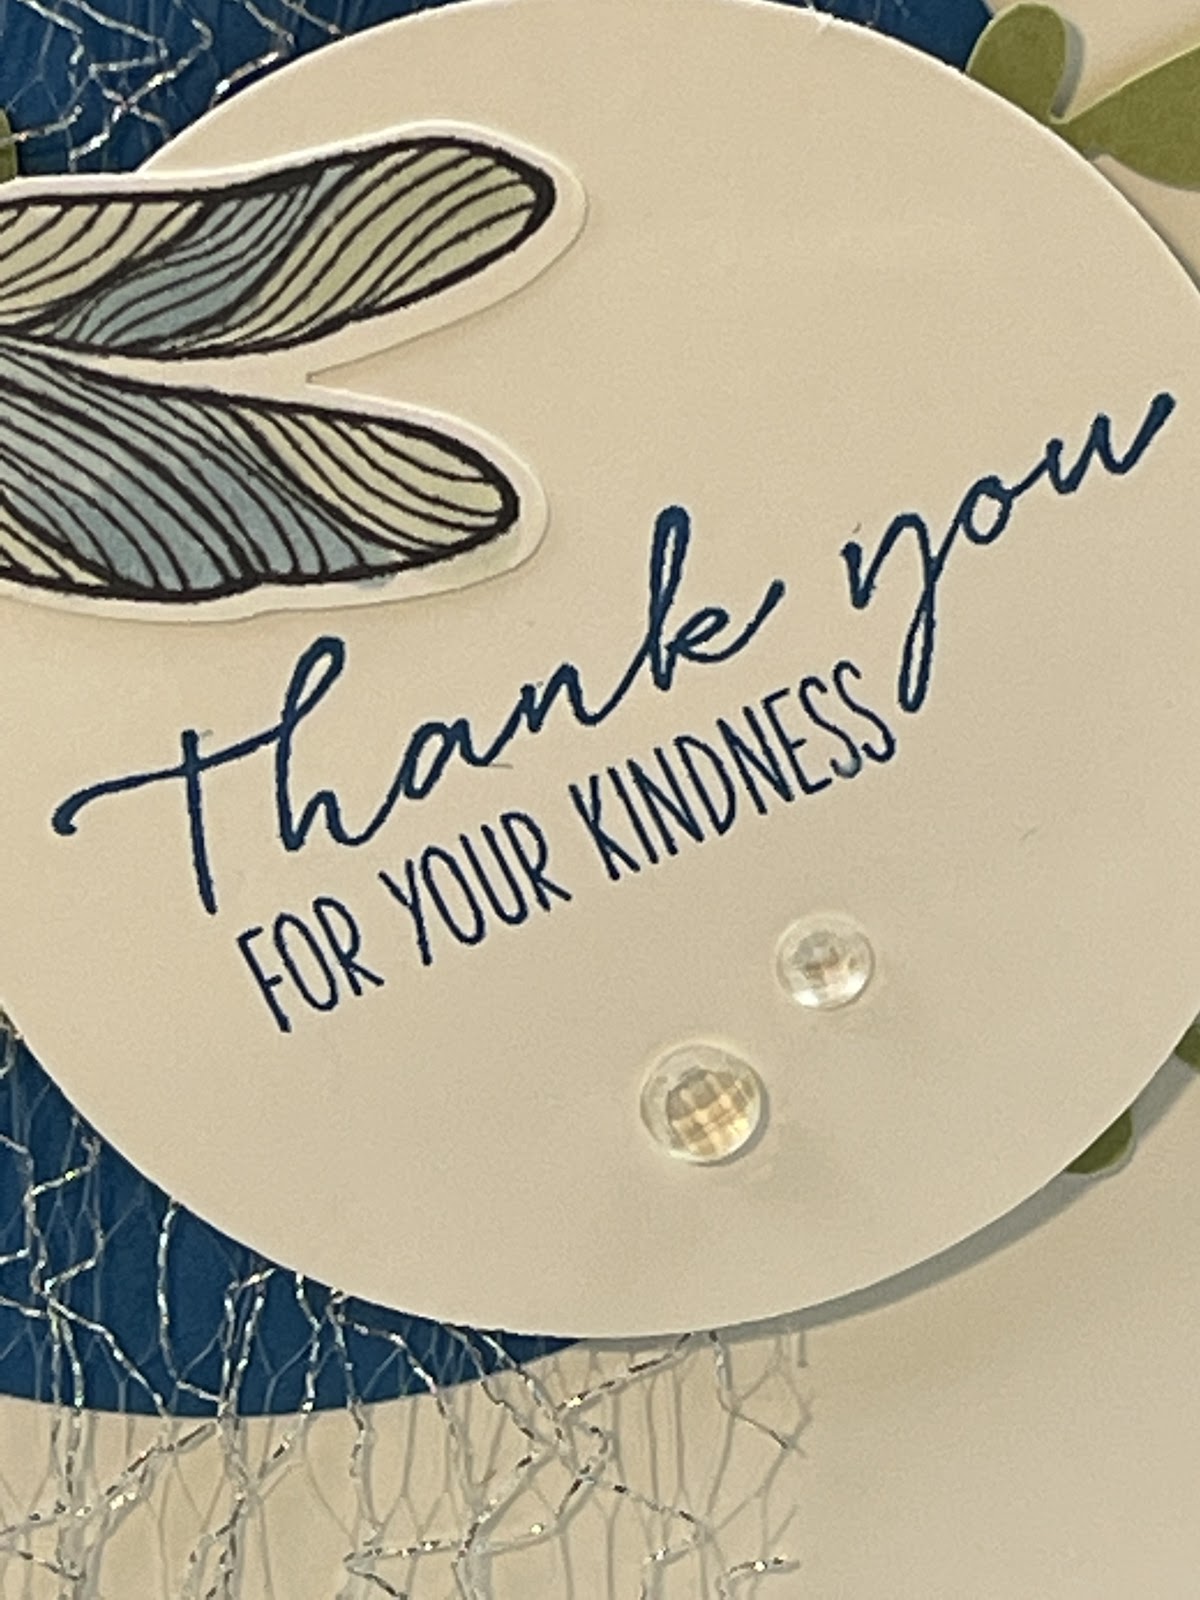
Isn't it super cute?  You should see the other side of the Oh So Ombre paper, it's Rococco Rose!  Don't worry, I show both sides on the video and you won't believe how gorgeous that one is!  Let's Check out the greeting up close.


Oooh.... Aaahhh!!! Do you love it?
I sure do.


Both the Punch Party and Oh So Ombre Designer Series Paper are FREE with minimum purchase or hosted party.  So make sure you check out the Catalog Page on this blog to see it all.

If you are interested in geeting these, please feel free to contact me!

Okay, okay.... I know what you really want


Do you love the card, but not interested in making it yourself?  Never fear, you can still send a hand stamped card.  Check out my Etsy Shop!


Make it a Successful Day Beauties!!! ~ Jean Piersanti 
My YouTube Channel: http://www.youtube.com/stampinupgirl 
Post May Contain Affiliate Links

1/08/2021

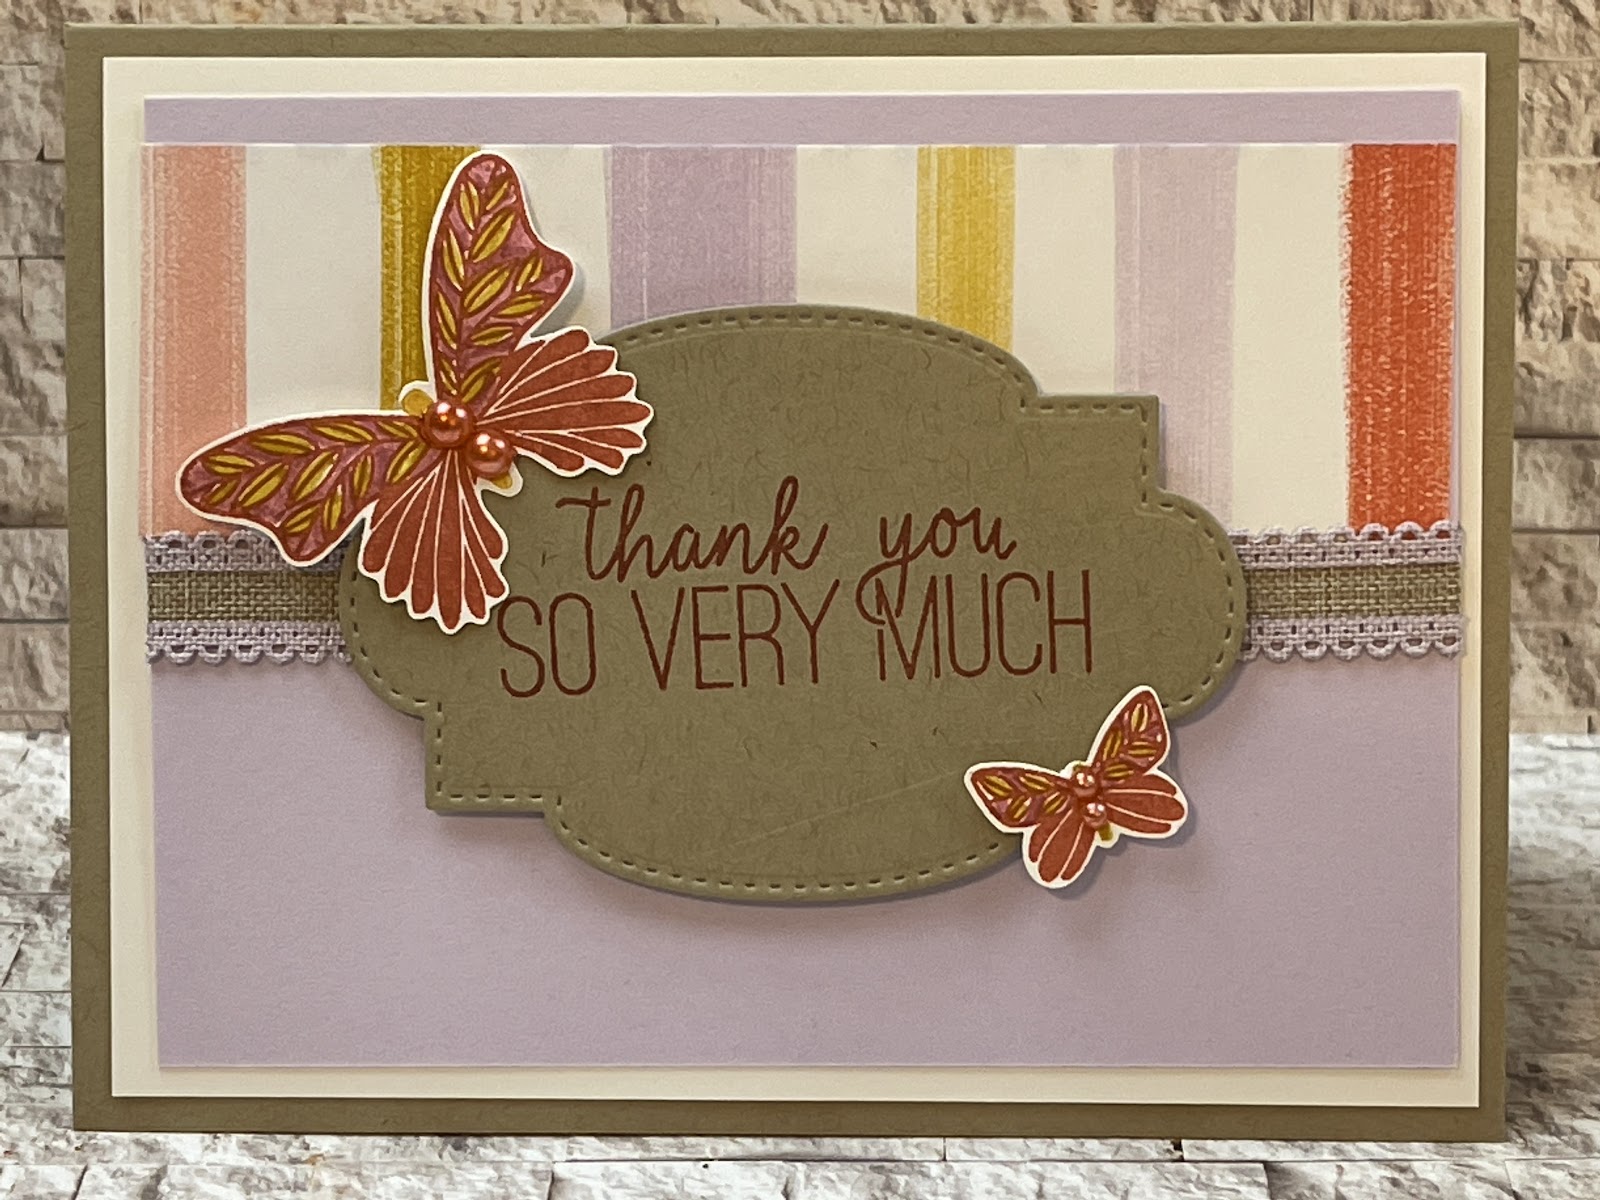
Free Tutorial Friday - Let's Make a Hand Stamped Card using Stampin' Up! Butterfly Gala

Beauty and the Stamper’s Free Tutorial Friday

Thank You - Butterfly


Order any items in this tutorial at my online store: https://JeanPiersanti.StampinUp.net


Supplies


Stamps:  Butterfly Gala


Ink/Coloring: Crushed Curry, Terracotta Tile, Rococo Rose, Calypso Coral Stampin’ Blends


Paper: Basic White, Crumb Cake, Purple Posy, Playing with Pattern Designer Series Paper


Adhesives: Stampin’ Seal, Stampin Seal +, Stampin’ Dimensionals


Embellishments/Extras:  Pearl Basic Jewels


Dies: Stitched So Sweetly


Directions

Cut Crumb Cake Base  at 5 ½” x 8 ½”, score at  4 ¼”

Cut Basic White at 5 ¼” x 4”

Cut Purple Posy at  5” x 3 ¾” 

Cut Designer Series Paper at 1 ½” x 5”


Stamp your greeting  and Butterflies.  Color Butterflies and punch.  Center and Die cut your greeting. Color your pearl jewels with Blends.  Adhere all layers with seal except the label (use dimensionals for that.  Give butterfly texture with bone folder and adhere to greeting label.  Add pearl jewels to embellish and your card is ready to go!


Product List 


Make it a Successful Day Beauties!!! ~ Jean Piersanti 
My YouTube Channel: http://www.youtube.com/stampinupgirl 
Post May Contain Affiliate Links

1/06/2021

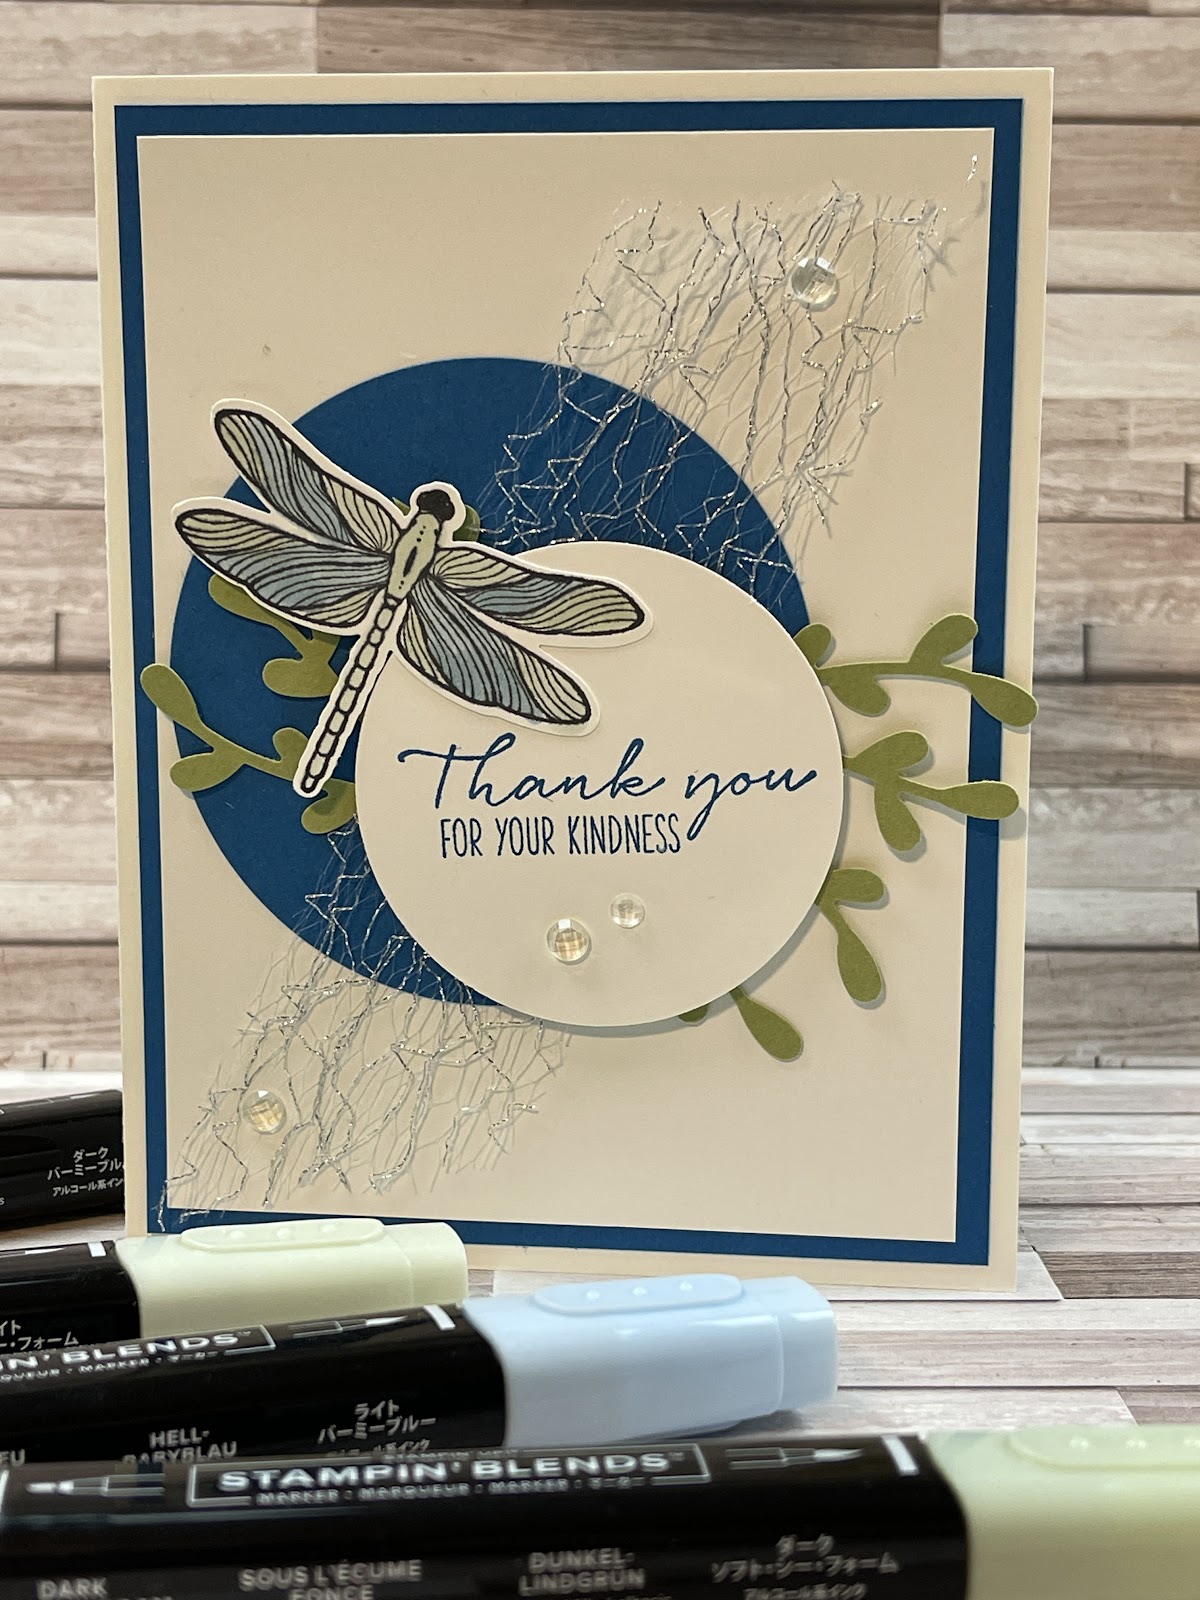
Global Monthly Stamper's YouTube Collaboration - Thank You Card using Stampin' Up Products

Beauty and the Stamper’s 

Global Monthly Stamper’s  - January 2021 - Thank You

Order any items in this tutorial at my online store: https://JeanPiersanti.StampinUp.net


Supplies


Stamps:  Dragonfly Garden


Ink/Coloring:  Pacific Point, Balmy Blue, Soft Sea Foam


Paper: Basic White, Pacific Point, Pear Pizzazz


Embellishments: Metallic Mesh, Elegant Gems


Adhesives: Stampin’ Seal (Dimensionals Optional)


Dies/Punches: Layered Circle Dies, 2 ¼” Circle Punch, Dragonflies Punch, Sprig Punch


Directions

  • Cut Basic White Base at  5 ½” x 8 ½”, score at 4 ¼” 

  • Cut Pacific Point at 5 ¼” x 4”

  • Cut Basic White top layer at 5” x 3 ¾”

  • Circle Die Pacific Point (approx 3”)


Stamp Greeting and Dragonfly Images, Color Dragonfly with blends and punch both greeting and Dragonfly.. Punch Sprigs and layer all pieces (including the Mesh Ribbon to create this lovely card.  Add Embellishment to transform and hold mesh in place.  The recipient will love this simple yet elegant Thank You card.


Product List
Sprig Punch
[148012]
$18.00


Make it a Successful Day Beauties!!! ~ Jean Piersanti 
My YouTube Channel: http://www.youtube.com/stampinupgirl 
Post May Contain Affiliate Links