6/05/2024
Global Stampers - Techniques for Card Making
5/02/2024
How to make simple yet beautiful packaging
Today we are bringing back the 'Sour Cream" Packaging... Enjoy!
Join me in viewing all the Global Stampers Video Hop and open up a world of artistic possibilities, especially when it comes to crafting unique packaging solutions.
The use of Stampin' Up! Designer Series Paper, with its vibrant colors and intricate patterns, makes for an exciting material to work with. One of the ingenious projects you can embark on is creating "Sour Cream" packaging.
This particular design not only stands out for its simplicity but also for its cost friendly approach to packaging. Using just one 6x6 piece of this designer paper, you can fold and manipulate the material into a small, eye-catching container that resembles the shape of a sour cream packet.
The process of crafting this packaging involves precise folds and a few simple cuts, turning a flat piece of paper into a three-dimensional object.
The beauty of this project lies in its versatility; these little packets can be used for a variety of purposes, from holding small gifts or party favors to being an innovative way to package even money.
The Stampin' Up! Designer Series Paper offers a variety of design options, allowing you to customize the look and feel of your packaging to fit any occasion or theme.
Please check out my video below along with the video's of my fellow Global Stampers (listed below).
1/06/2021
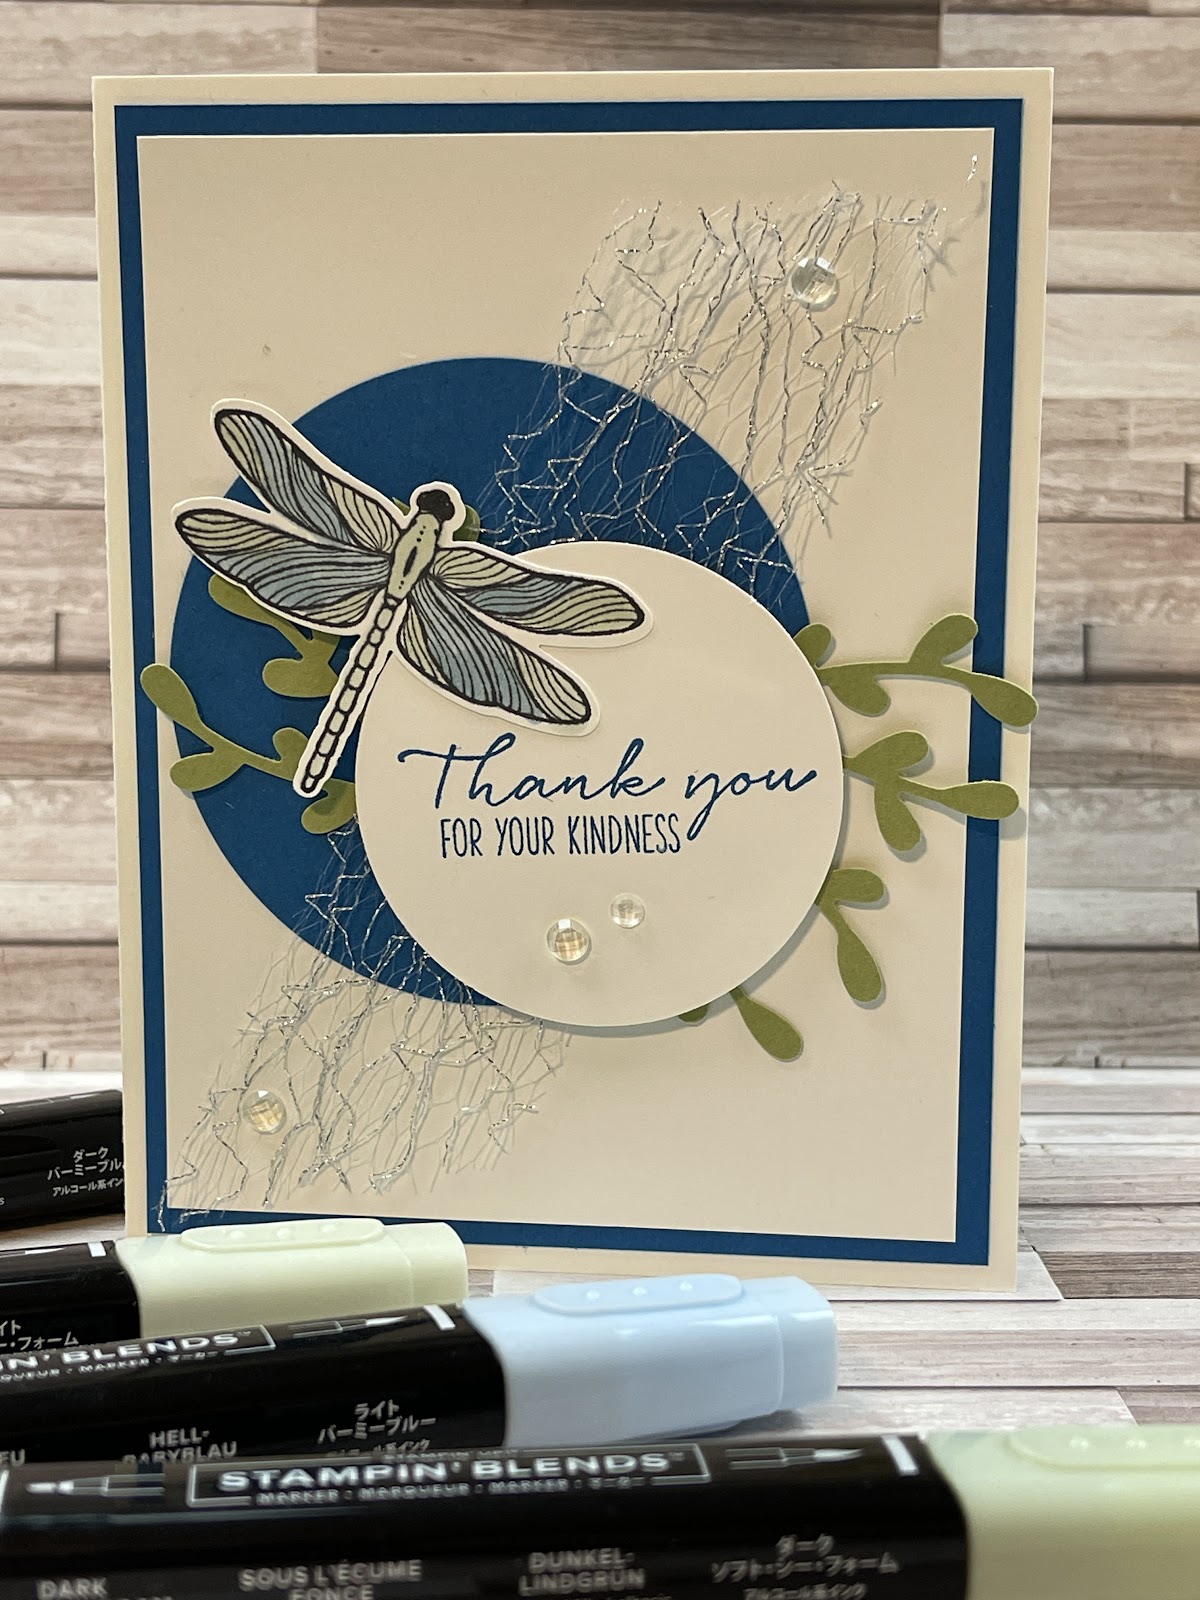
Global Monthly Stamper's YouTube Collaboration - Thank You Card using Stampin' Up Products
Beauty and the Stamper’s
Global Monthly Stamper’s - January 2021 - Thank You
Order any items in this tutorial at my online store: https://JeanPiersanti.StampinUp.net
Supplies
Stamps: Dragonfly Garden
Ink/Coloring: Pacific Point, Balmy Blue, Soft Sea Foam
Paper: Basic White, Pacific Point, Pear Pizzazz
Embellishments: Metallic Mesh, Elegant Gems
Adhesives: Stampin’ Seal (Dimensionals Optional)
Dies/Punches: Layered Circle Dies, 2 ¼” Circle Punch, Dragonflies Punch, Sprig Punch
Directions
Cut Basic White Base at 5 ½” x 8 ½”, score at 4 ¼”
Cut Pacific Point at 5 ¼” x 4”
Cut Basic White top layer at 5” x 3 ¾”
Circle Die Pacific Point (approx 3”)
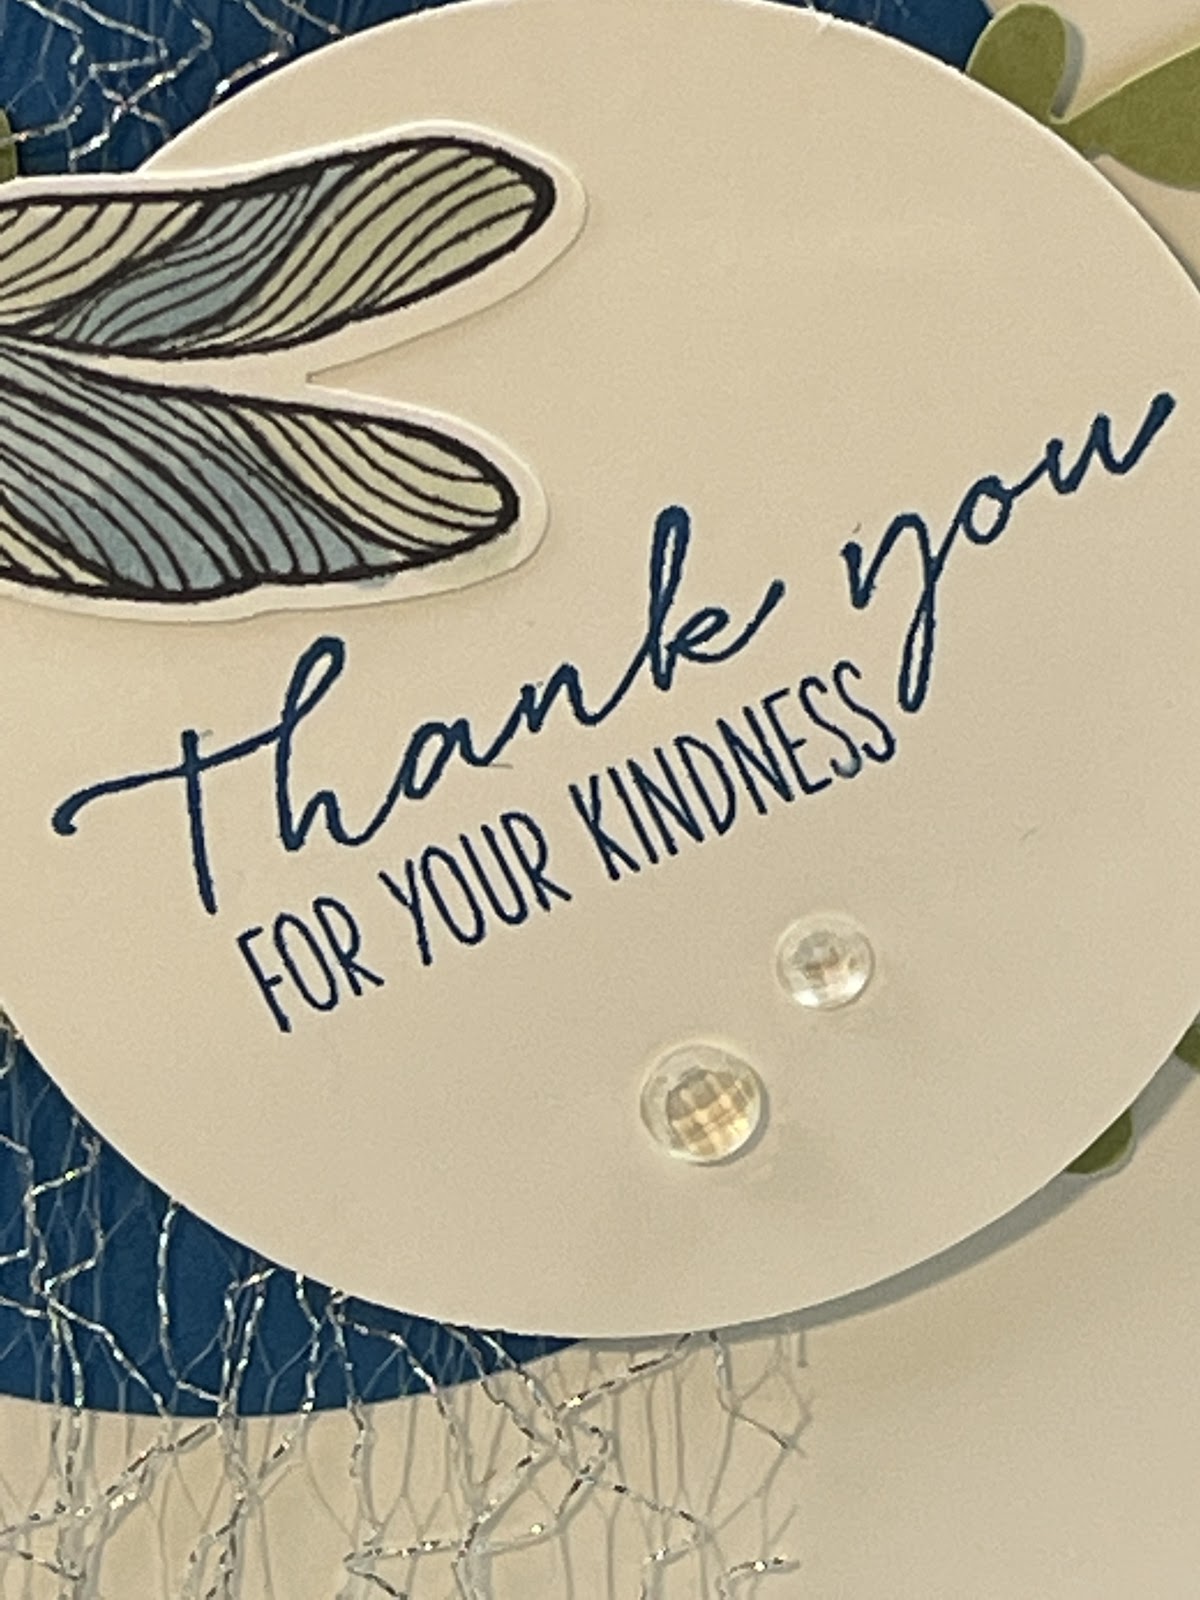
Stamp Greeting and Dragonfly Images, Color Dragonfly with blends and punch both greeting and Dragonfly.. Punch Sprigs and layer all pieces (including the Mesh Ribbon to create this lovely card. Add Embellishment to transform and hold mesh in place. The recipient will love this simple yet elegant Thank You card.
9/02/2020
Let's Make a handstamped card for Back to School - Global Month Stampers Collab
Beauty and the Stamper’s
Global Stamper’s - September - Back to School
Order any items in this tutorial at my online store: https://JeanPiersanti.StampinUp.net
Supplies
CLICK HERE TO WATCH THE DOWNLOAD TUTORIAL
Directions
Cut Crumb Cake Base at 6” x 5 1/2”, score in half at 3”
Cut Flirty Flamingo at 1” x 3”
Cut Silver Foil at ¼” x 3”
Cut Basic Black into a Triangle (Dies optional)
Stamp Images onto Bumble-bee DSP, Corner round Flirty Flamingo and Crumb Cake base, sponge and adhere, tear DSP and sponge with early espresso, add black triangle and cut into a pencil shape. Layer DSP and then add silver foil strip. Voila, you’ve made a back to school card that looks like a pencil!!!