|
|
|

|
|
|

|
|

|
|
|

|

|
|
|
|
|
|
|
|
|
|
|
|
July 26th 2024 Catalog Sketch Card
Quick & Easy
Order any items in this tutorial at my online store: https://JeanPiersanti.StampinUp.net

Supplies
Stamps: Rhino Ready
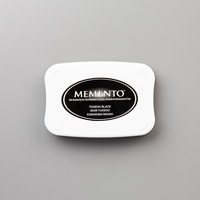
Ink/Coloring: Tuxedo Black Memento, Light Gray Granite Blends
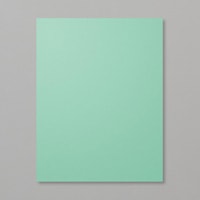
Paper: Basic White Thick, Basic Black, Coastal Cabana
Adhesives: Tombow Multi Purpose Glue, Stampin’ Seal, Stampin’ Dimensionals
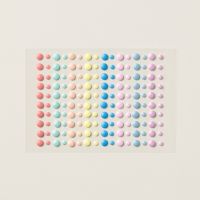
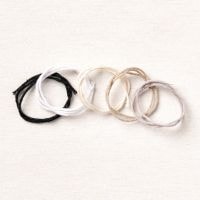
Embellishments: White Baker’s Twine, Rainbow Adhesive Backed Dots
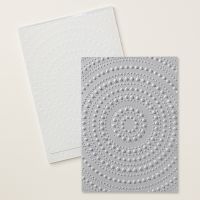
Cut & Emboss: Spotlight on Nature, Ditted Circles Dies
CLICK HERE TO WATCH THE CREATE ALONG VIDEO

Directions
Cut Basic White Base at 5 ½” x 8 ½”, score at 4 ¼”
Cut Coastal Cabana at 4” x 5 ¼”
2 ½” Basic Black Circle
Cut Basic White Strip at ½” x length of greeting
2” Basic White Circle
Emboss Coastal Cabana and layer onto Card Base, then later Basic Black Circle onto top third. Stamp and Color Rhino and greeting. Tie twine into a medium size bow and adhere onto the back of the greeting. Pop up the white circle and greeting with dimensionals. Add dot embellishments and this card is ready for its recipient!
 |  |  | |
 |  |  | |
 |  |
Beauty and the Stamper’s Technique Tuesday
Artistic Masking Technique
Order any items in this tutorial at my online store: https://JeanPiersanti.StampinUp.net

CLICK HERE TO SEE PRINTABLE TUTORIAL
Supplies
Stamps: Sailing Home, Biggest Wish
Ink/Coloring: So Saffron, Mango Melody, Pacific Point, Pumpkin Pie Misty Moonlight
Paper: Whisper White, So Saffron
Embellishments: Holiday Rhinestones, Blending Brushes
Adhesives: Stampin’ Seal
CLICK HERE TO WATCH THE CREATE ALONG VIDEO
Directions
Cut So Saffron Base at 5 ½” x 8 ½”, score at 4 ¼”
Cut Whisper White Cardstock at 4” x 5 ¼”
Cut Balmy Blue 4 ⅛” x 5 ⅜”
Stamp Images on White Cardstock in various colors (can also be done in the same color), Then add a 2”x2” square sticky note and blend various colors. Move the sticky not between each color. Once you get the desired effect, adhere all pieces & finish with rhinestone embellishments.

 $17.00 |  $24.00 |  $8.25 |  $8.75 |  $8.75 |
 $7.50 |  $7.50 |  $7.50 |  $7.50 |  $7.50 |
 $6.00 |  $10.00 |  $5.25 |  $10.00 |  $25.00 |
 $8.00 |