Showing posts with label Christmas card. Show all posts

12/08/2020

Technique Tuesday - One Layer with Dimension - with Stampin' Up! Products


Beauty and the Stamper’s Technique Tuesday

One Layer Ready - Christmas

Order any items in this tutorial at my online store: https://JeanPiersanti.StampinUp.net


Supplies


Stamps:  Ornamental Envelopes, Tags Tags Tags


Ink/Coloring: Memento Tuxedo Black, Real Red, Balmy Blue, Gray Granite


Cardstock/Paper: Whisper White, Real Red


Adhesives: Stampin’ Seal


Embellishments: Basic Rhinestone Jewels


Dies/Embossing Folder:  Subtle 3D, Stampin’ Cut & Emboss Machine


CLICK HERE TO DOWNLOAD THE PRINTABLE TUTORIAL


Directions

Cut Real Red Base at 4 ¼” x 11”,  score at 5 ½”

(2) Whisper White cut at 5” x 3 ¾”. 


Stamp your Whisper White Layer with the Ornament and the greeting from Tags Tags Tags in Memento Ink.  Color in with Stampin’ Blends.  Add dimension by coloring underneath with gray granite blends. Emboss the entire layer with the Subtle 3D Folder.  Layer onto card base, when ready to send.  Add embellishments, if you like.  A Quick, easy and full of dimension and texture card that is ready to send.


Product List

Make it a Successful Day Beauties!!! ~ Jean Piersanti  
My YouTube Channel: http://www.youtube.com/stampinupgirl 
Post May Contain Affiliate Links

11/06/2020

Don't forget to stamp the Inside and Envelope before you send your handmade cards.

Beauty and the Stamper’s Free Tutorial Friday

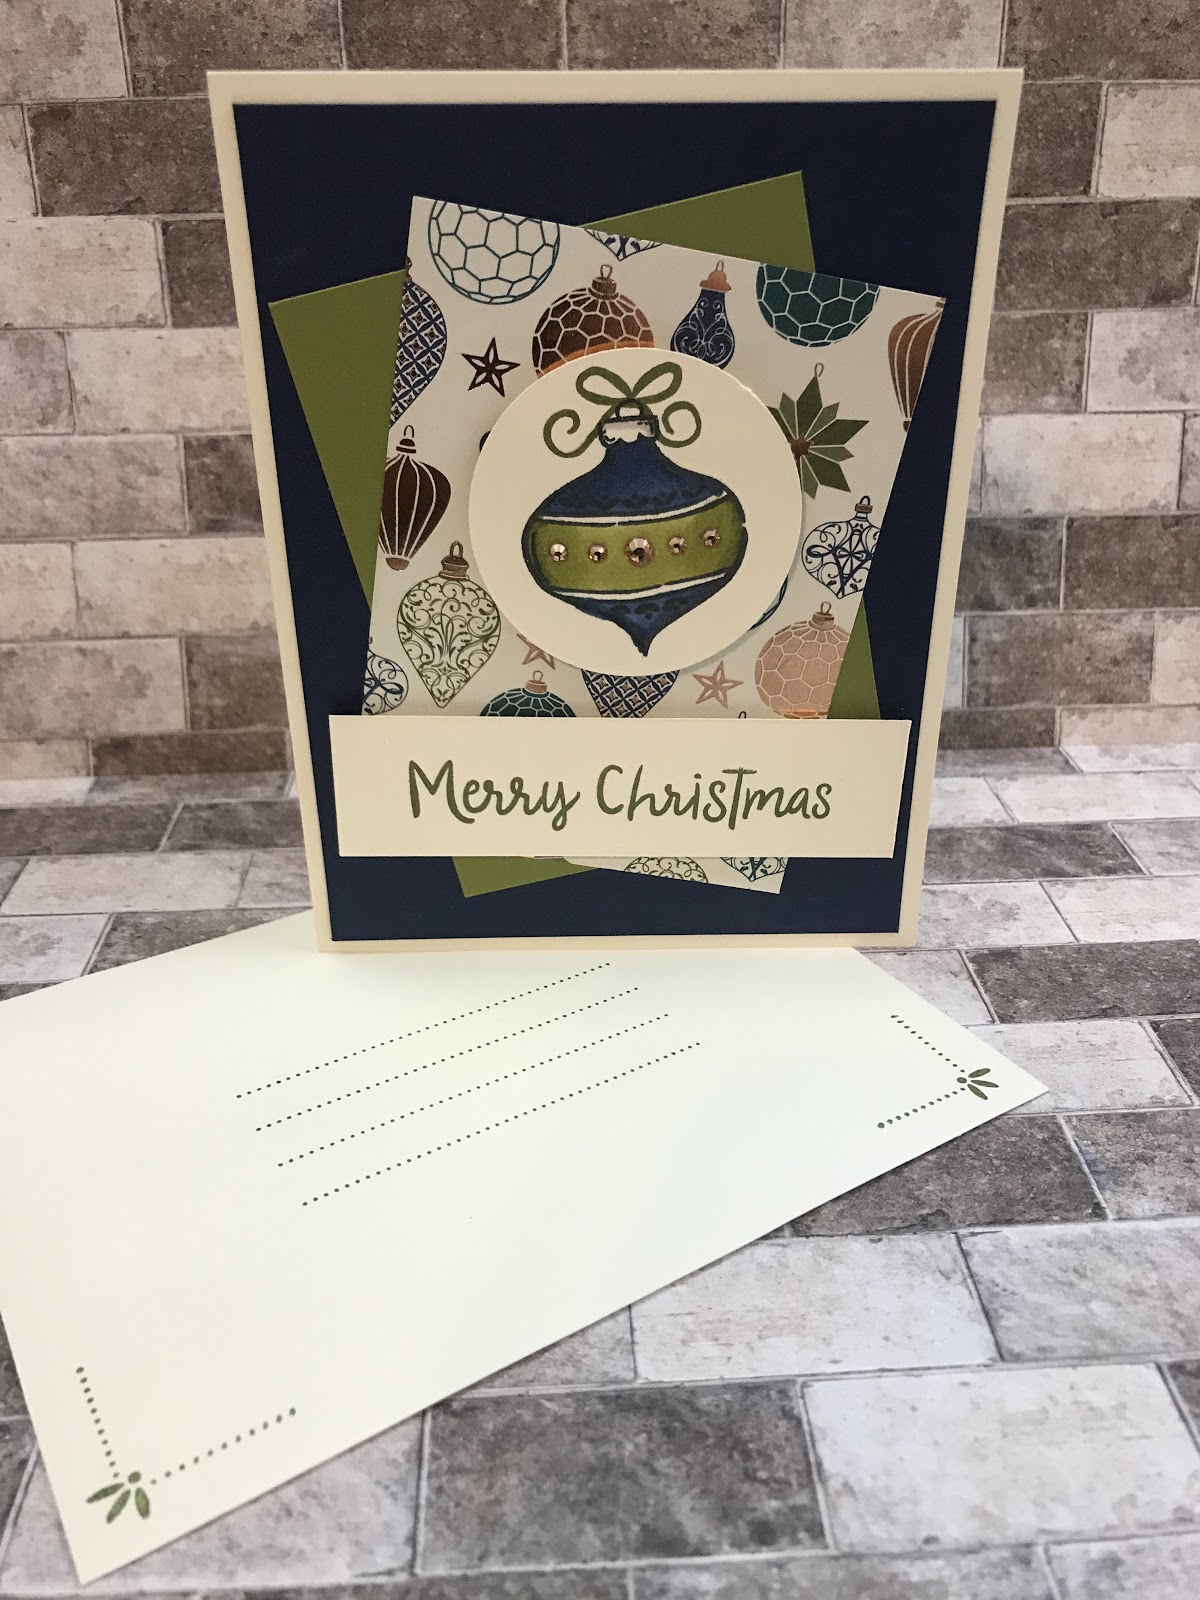
Inside, Outside & Envelope


Order any items in this tutorial at my online store: https://JeanPiersanti.StampinUp.net


Supplies


Stamps:  Snowman Season, Ornamental Envelope, Tag Buffet


Ink/Coloring: Memento Tuxedo Black, Old Olive, Night of Navy, Stampin’ Blends (Old Olive & Night of Navy)


Paper: Very Vanilla, Old Olive, Night of Navy, Brightly Gleaming Designer Series Paper (DSP)


Adhesives: Stampin’ Seal, Stampin’ Seal,Stampin’ Dimensionals


Embellishments/Extras:  Champagne Rhinestones, Very Vanilla Envelopes


CLICK HERE TO LOAD THE PRINTABLE TUTORIAL


Directions

Cut Very Vanilla Base at 5 ½” x 8 ½”, score at 4 ¼”

Cut Night of Navy Layer at 4: x 5 ¼”

Cut Very Vanilla Greeting Strip at 1” x 3 ¾”

Cut Designer Series Paper and Old Olive Cardstock at 3” x 4” 


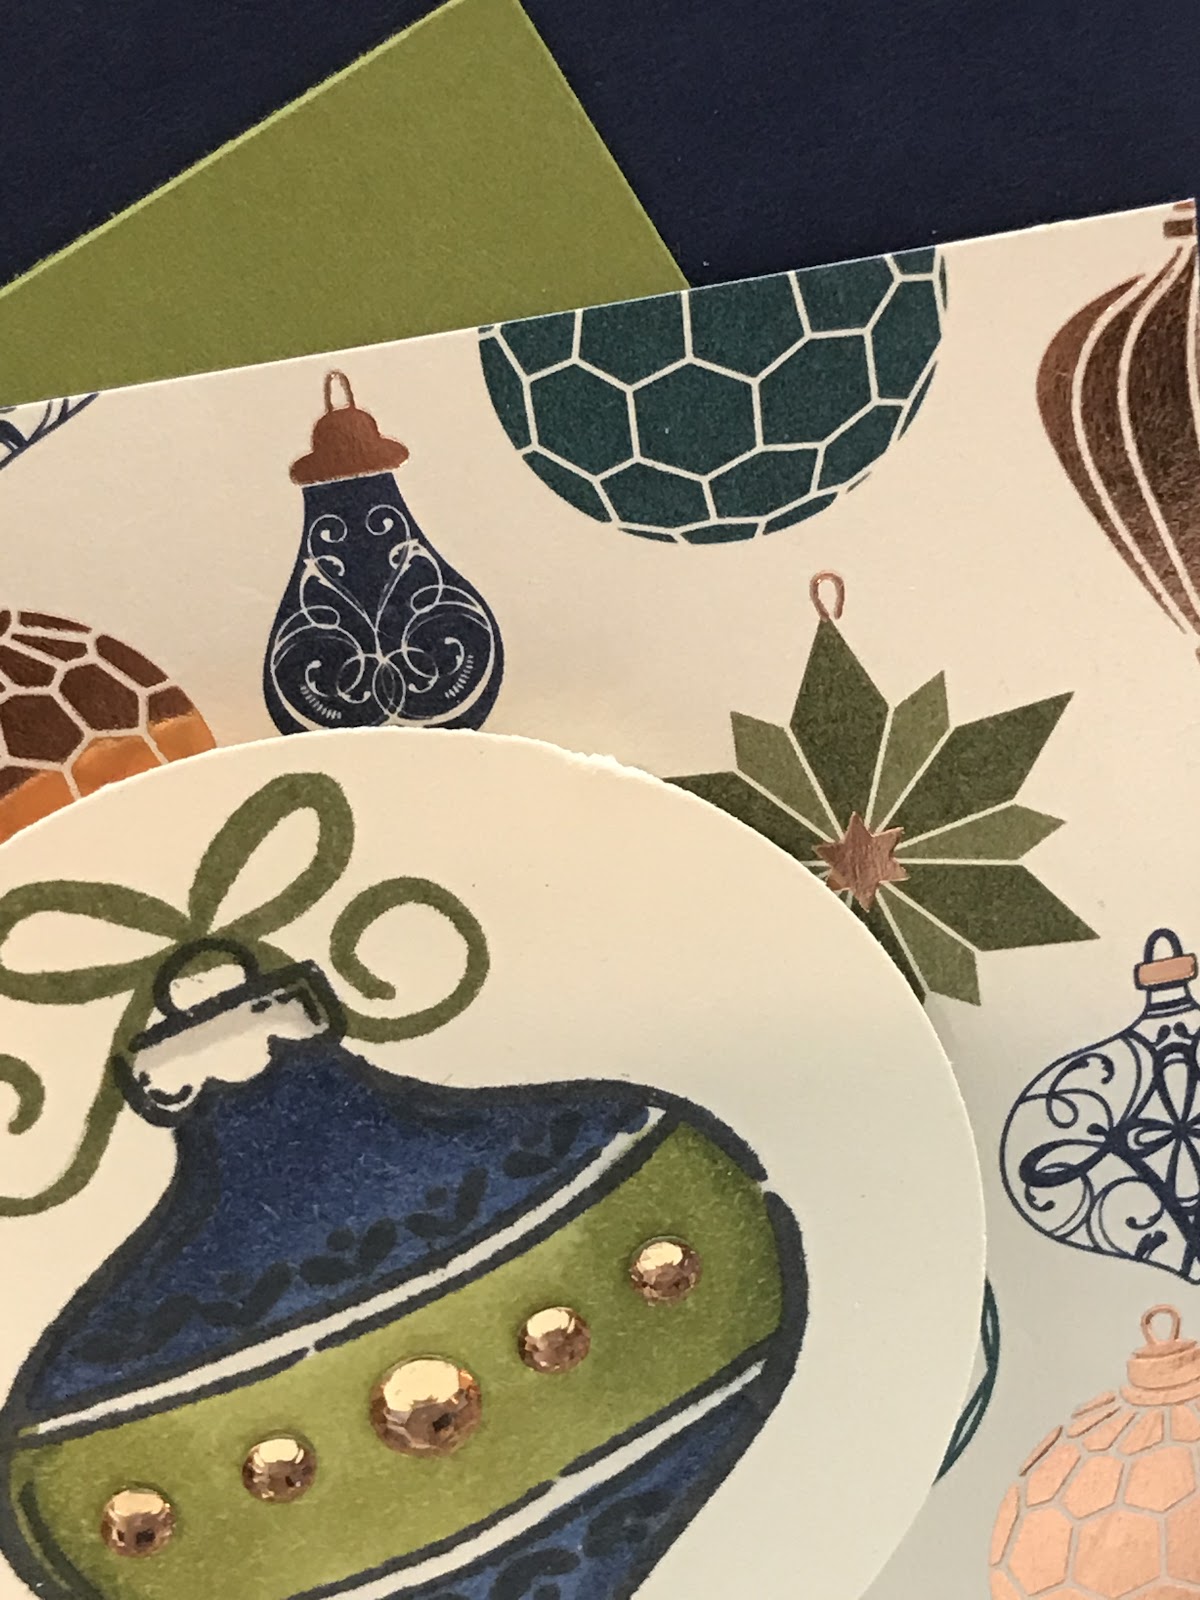
Layer Cardstock and DSP on Base, Stamp Greeting and Ornament (then color with Blends) Punch with 2” Circle Punch and adhere with dimensionals.  Stamp Inside and Envelope and you are completely done, Create many of these quick & easy Christmas Cards for all your friends and family.


Product List
Paper Snips
[103579]
$10.00

Make it a Successful Day Beauties!!! ~ Jean Piersanti 
My YouTube Channel: http://www.youtube.com/stampinupgirl 
Post May Contain Affiliate Links

11/03/2020

Technique Tuesday -From Stampin' Up!'s Christmas Tag Kit to a Gorgeous Handmade Christmas Card

Beauty and the Stamper’s Technique Tuesday

Tag Buffet Kit to Christmas Card


Order any items in this tutorial at my online store: https://JeanPiersanti.StampinUp.net


Supplies


Stamps:  Tag Buffet


Ink/Coloring:  Real Red, Sea Foam Green


Cardstock/Paper: Real Red, Sea Foam Green


Adhesives: Stampin’ Seal


Embellishments: Red Basic Gems, Tag Buffet Tag Kit


CLICK HERE TO DOWNLOAD THE PRINTABLE TUTORIAL


Directions

Cut Real Red at Base at4 ¼”” x 11”, ( score at 5 ½”)

Find your favorite Tag Die Cutout and two of the Holly Tree Die Cut outs.  Place Sea Foam Layer onto Real Red Base, then adhere both Holly Trees across the card.  Wrap twine and place like a nest.  The adhere the focal point (I chose the Cardinal).  Stamp Greeting in Sea Foam Green and then Again just offset in Real Red.  Finish with Red Gems.  These are quick and easy and make many beautiful cards.  Or, use it to make Tags to match.


Product List
Paper Snips
[103579]
$10.00


Make it a Successful Day Beauties!!! ~ Jean Piersanti 
My YouTube Channel: http://www.youtube.com/stampinupgirl 
 Post May Contain Affiliate Links