Showing posts with label birthday card. Show all posts

1/22/2021

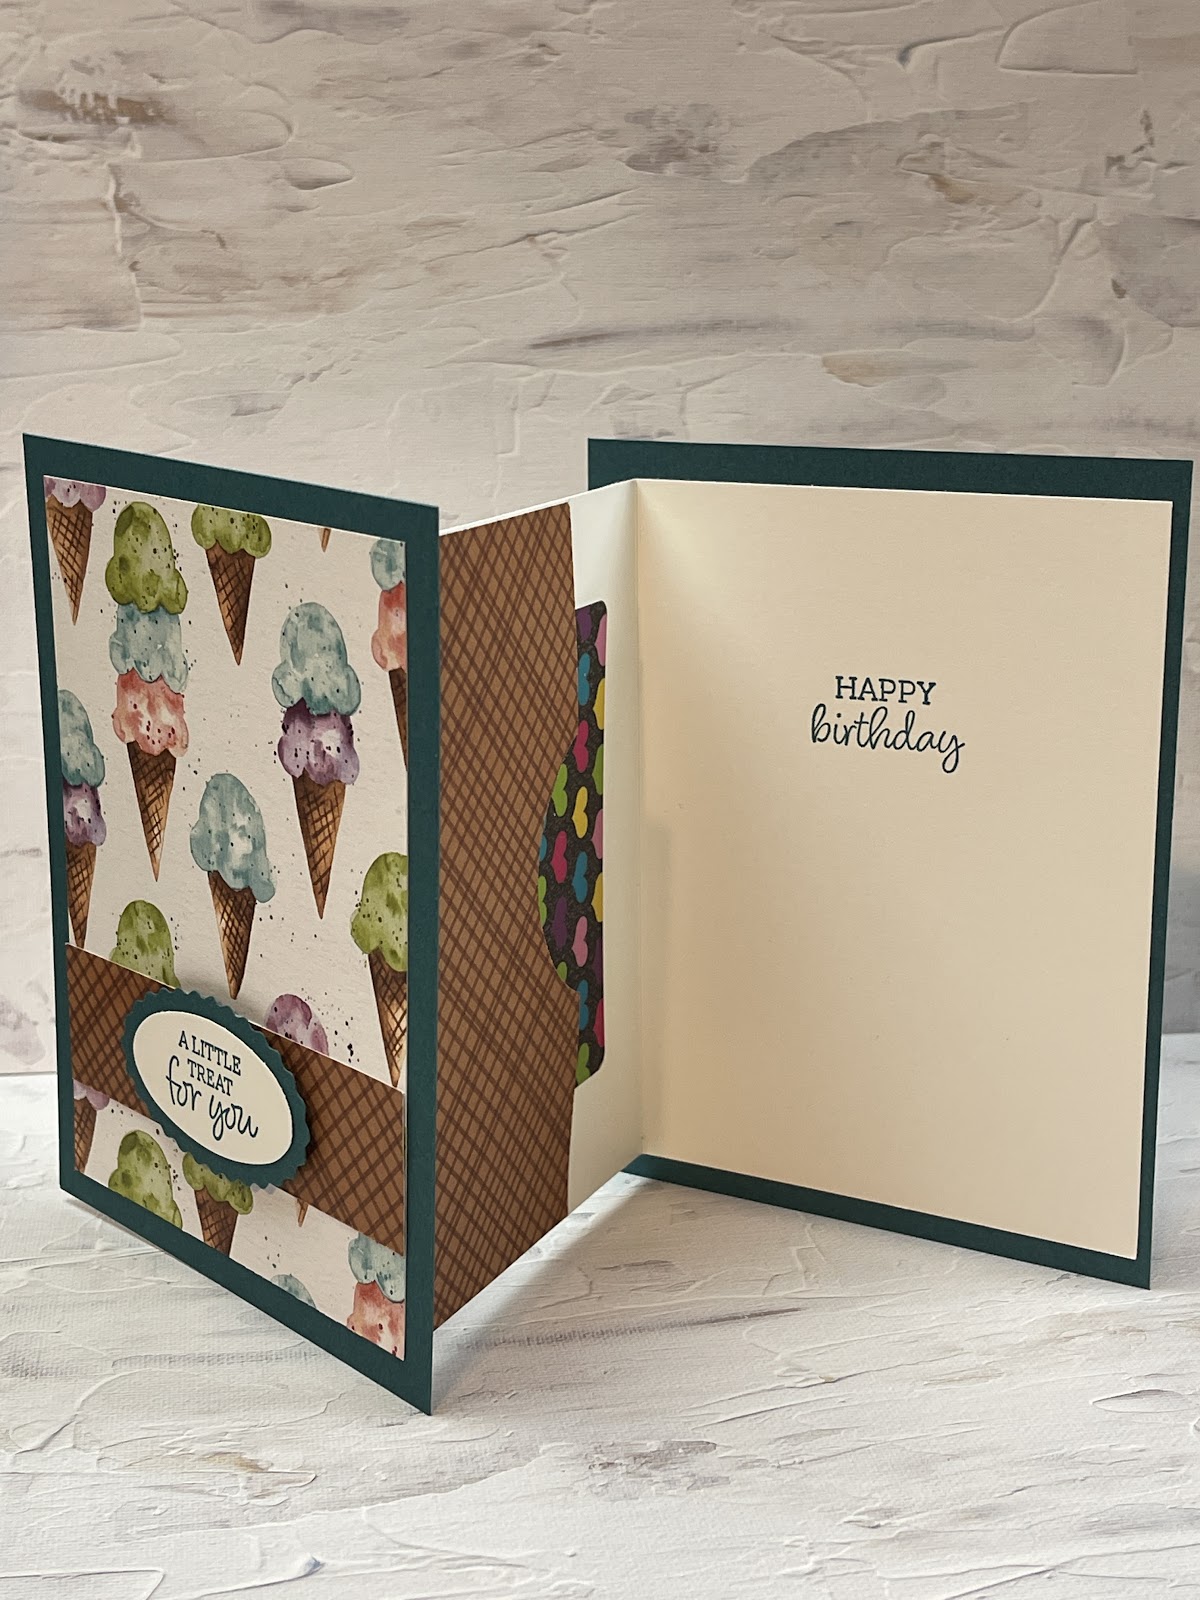
FREE Tutorial Friday - Fun Fold Z-Fold Birthday Card with Gift Card Holder

Beauty and the Stamper’s Free Tutorial Friday

Z-Fold Gift Card Holder

Order any items in this tutorial at my online store: https://JeanPiersanti.StampinUp.net

Supplies


Stamps:  Oval Occasions


Ink/Coloring: Pretty Peacock


Paper: Basic White, Pretty Peacock, Ice Cream Corner Designer Series Paper (DSP)


Adhesives: Stampin’ Seal, Stampin’ Dimensionals, Multi-Adhesive Glue

Butterfly Gems

Dies/Punches: Double Oval Punch


Directions

Cut (2) Pretty Peacock Base/Covers  at  5 ½” x  4 ¼”

Cut Ice Cream Corner DSP at 5” x 3 ¾”, 1 x 3 ¾”, & 2 ¼” x 5

Cut Basic White  at  5” x 11”  Score at 3 ¾” & 7 ½”

Scrap of Basic White and Pretty Peacock


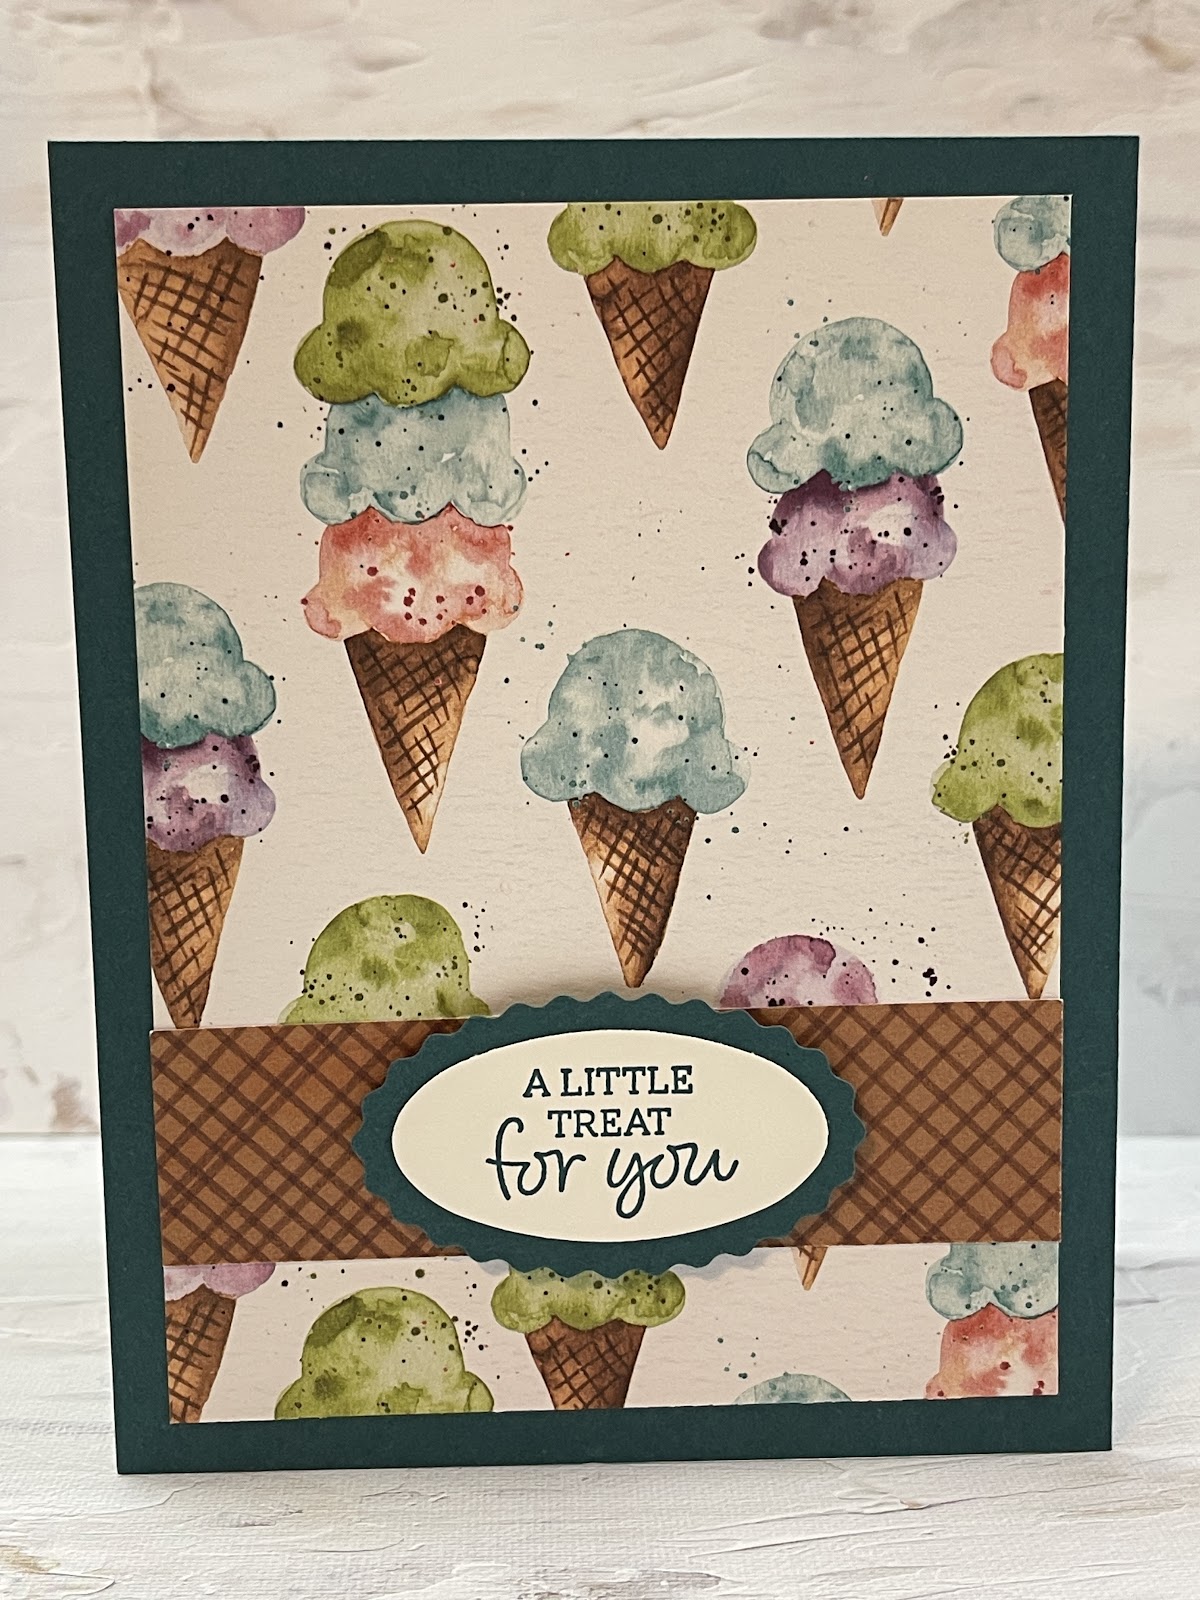
Stamp Greeting and punch out with Oval Punch, Punch Background with Oval Scallop.  Stamp Birthday Greeting on last third of the Basic White.  Build the front of the card with layers and add scallop greeting with dimensionals.  Burnish basic white on score lines and adhere to the front and back covers.  Punch circle from Gift Card Strip and adhere with multi-purpose glue.  This cute little card is perfect for either gender and any age.


Want to Support Jean Piersanti/Beauty and the Stamper?  


Product List
Paper Snips
[103579]
$10.00

Make it a Successful Day Beauties!!! ~ Jean Piersanti 
My YouTube Channel: http://www.youtube.com/stampinupgirl 
Post May Contain Affiliate Links

12/18/2020

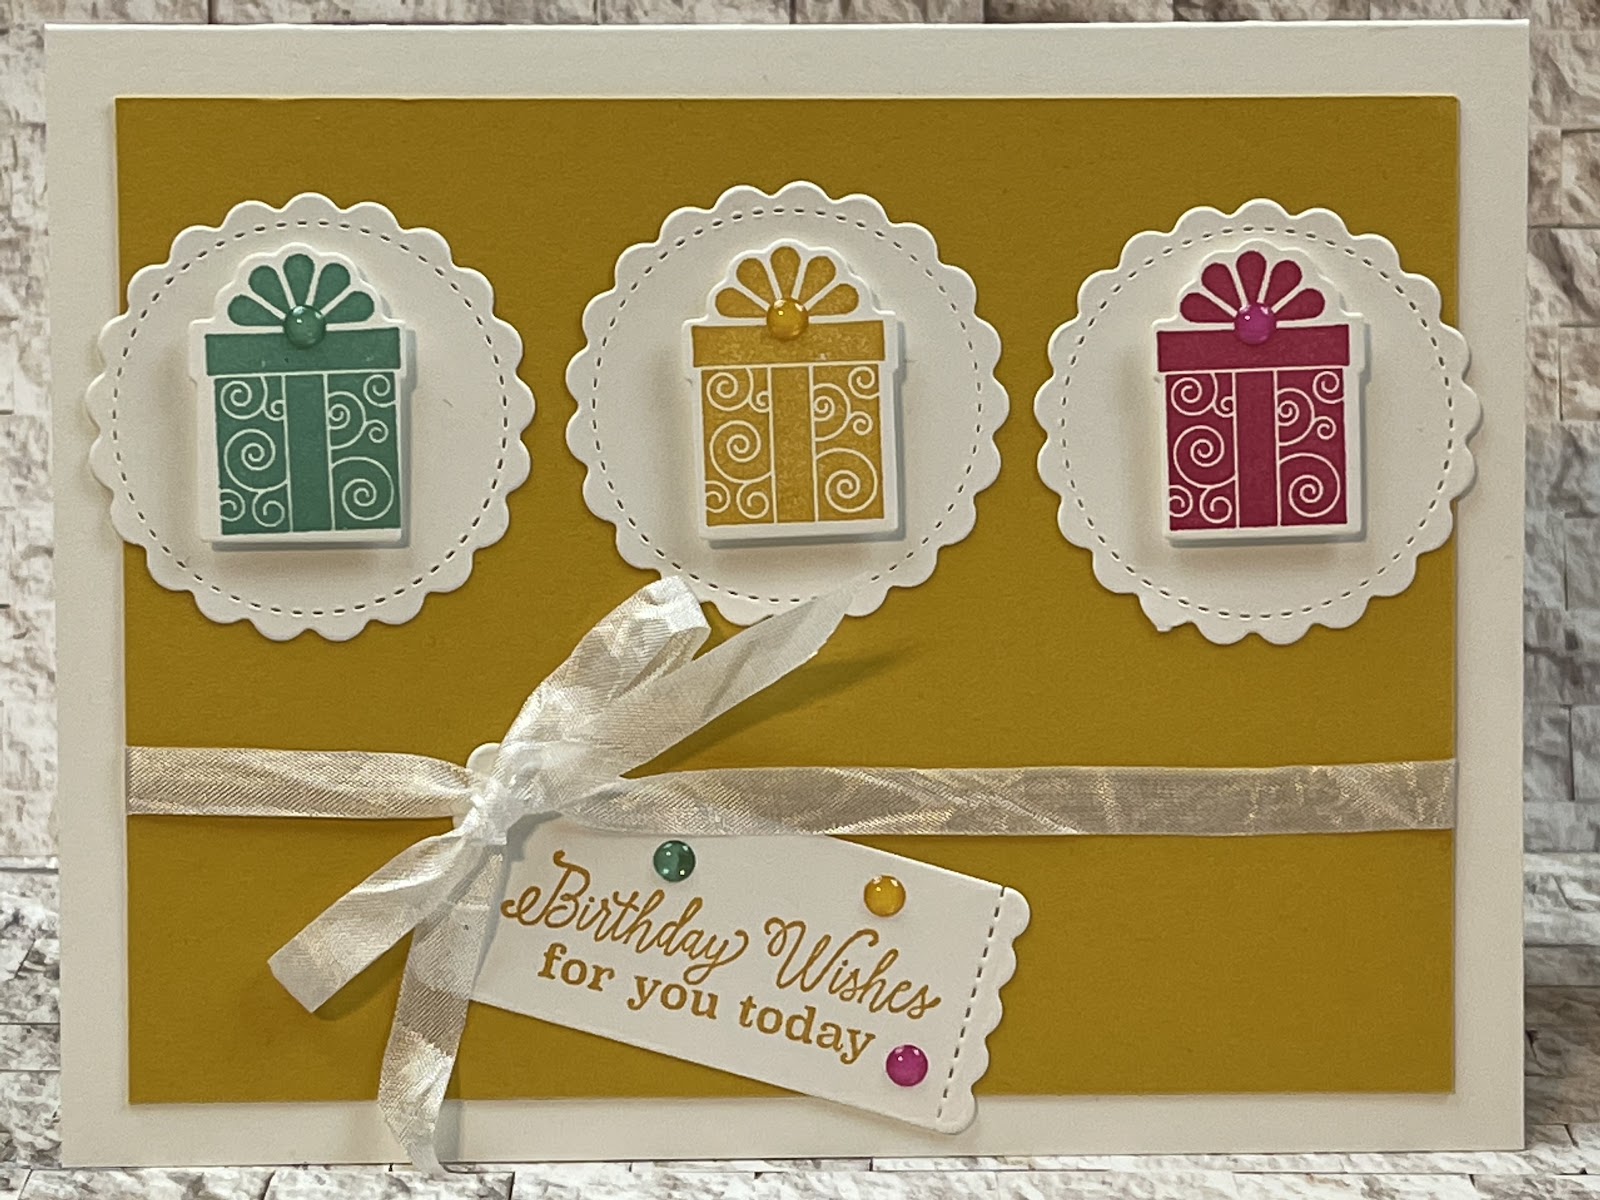
FREE Tutorial Friday - Stampin' Up's Little Treats Birthday Card

Beauty and the Stamper’s Free Tutorial Friday

Happiest of Birthdays - Belated Colors


Order any items in this tutorial at my online store: https://JeanPiersanti.StampinUp.net


Supplies


Stamps:  Little Treats Bundle


Ink/Coloring: Crushed Curry, Bermuda Bay, Melon Mambo


Paper: Whisper White, Crushed Curry


Adhesives: Stampin’ Seal, Stampin’ Dimensionals


Embellishments/Extras:  In-Color Enamel Dots, Crinkle White Ribbon 


Dies: Little Treats Bundle,  Stampin’ Cut & Emboss Machine


CLICK HERE TO DOWNLOAD THE PRINTABLE TUTORIAL


Directions

Cut Whisper White at 5 ½” x 8 ½”, score at  4 ¼”

Cut Crushed 5” x 3 ¾” and scrap for outside greeting

Die Cut 3 Stitched Scallop from Bundle Dies


Stamp greeting and cut with label die from Bundle.  Stamp birthday presents in three colors and cut with die from Bundle. Wrap Ribbon around crushed curry layer, tie in bow  and adhere to case.  Adhere stitched scallops to crushed curry and adhere a present to each scallop with a dimensional.  Adhere label greeting to the card, just under the bow. Finish by adding an enamel dot to each present and three to the label.  Your card is finished and ready to give to someone sweet!


Product List


Make it a Successful Day Beauties!!! ~ Jean Piersanti  
My YouTube Channel: http://www.youtube.com/stampinupgirl 
Post May Contain Affiliate Links

12/04/2020

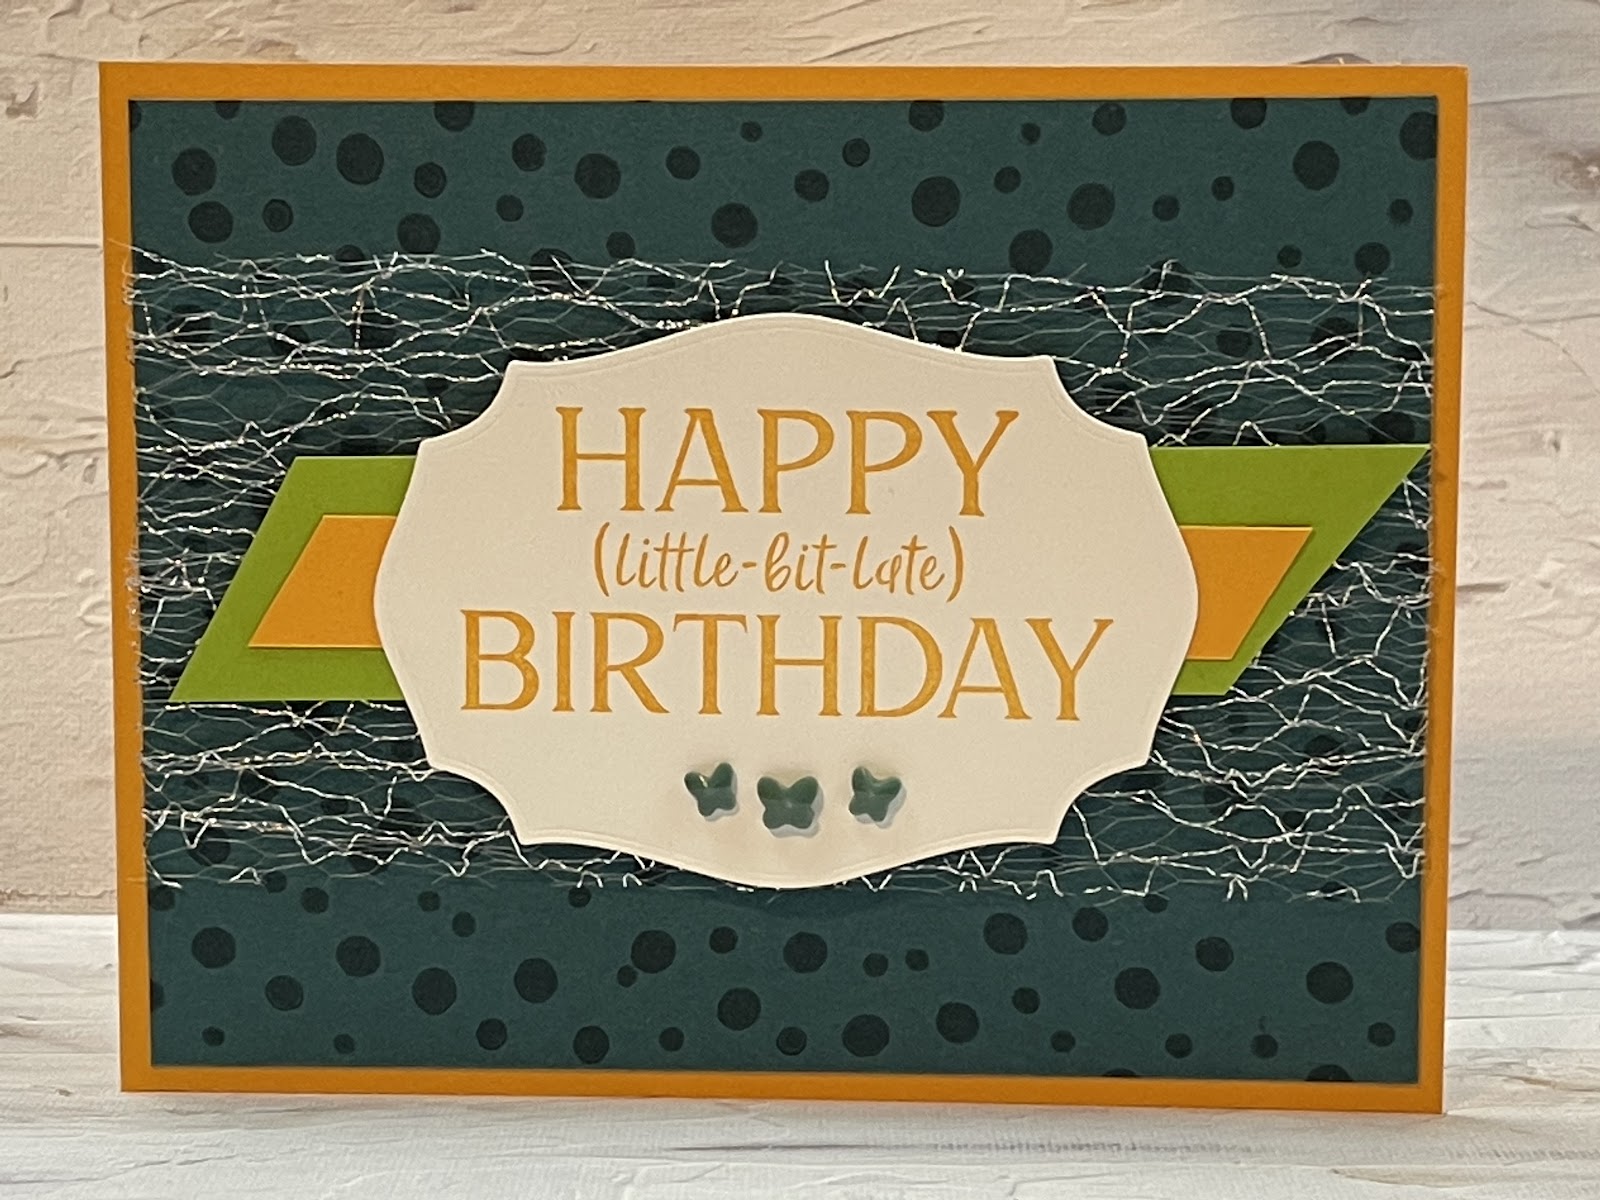
Free Tutorial Friday - In case you miss a birthday


Beauty and the Stamper’s Free Tutorial Friday

Happiest of Birthdays - Belated Colors


Order any items in this tutorial at my online store: https://JeanPiersanti.StampinUp.net


Supplies


Stamps:  Happiest of Birthdays, Pattern Play


Ink/Coloring: Mango Melody, Pretty Peacock


Paper: Whisper White, Mango Melody, Granny Apple Green, Pretty Peacock


Adhesives: Stampin’ Seal


Embellishments/Extras:  Butterfly Gems, Metallic Mesh


Dies: Tasteful Labels, Stampin’ Cut & Emboss Machine


CLICK HERE TO DOWNLOAD THE PRINTABLE TUTORIAL


Directions

Cut Whisper White at 4 ¼” x 11”, score at  5½”

Cut Whisper White for Inside 5” x 3 ¾” and scrap for outside greeting

Cut Granny Apple Green Strip at 1” x 5 ¼” and cut edges at diagonal

Cut Mango Melody Strip at ½” x 5 ¼” and cut edges at diagonal


Stamp your birthday greeting and die cut with the largest tasteful label die.  Stamp Peacock Cardstock with Peacock Ink to create a patterned background.  Also stamp the inside white layer, if you’d like. Wrap two pieces of mesh and adhere to the back.  Adhere all layers and complete with butterfly gems.  This cute card is sure to gain forgiveness for being just a little-bit-late.


Product List


Make it a Successful Day Beauties!!! ~ Jean Piersanti 
My YouTube Channel: http://www.youtube.com/stampinupgirl 
Post May Contain Affiliate Links